Address
Atlanta, GA
We travel too!
Work Hours
Monday-Thursday: 7-11PM
Saturdays: 10AM - 6PM
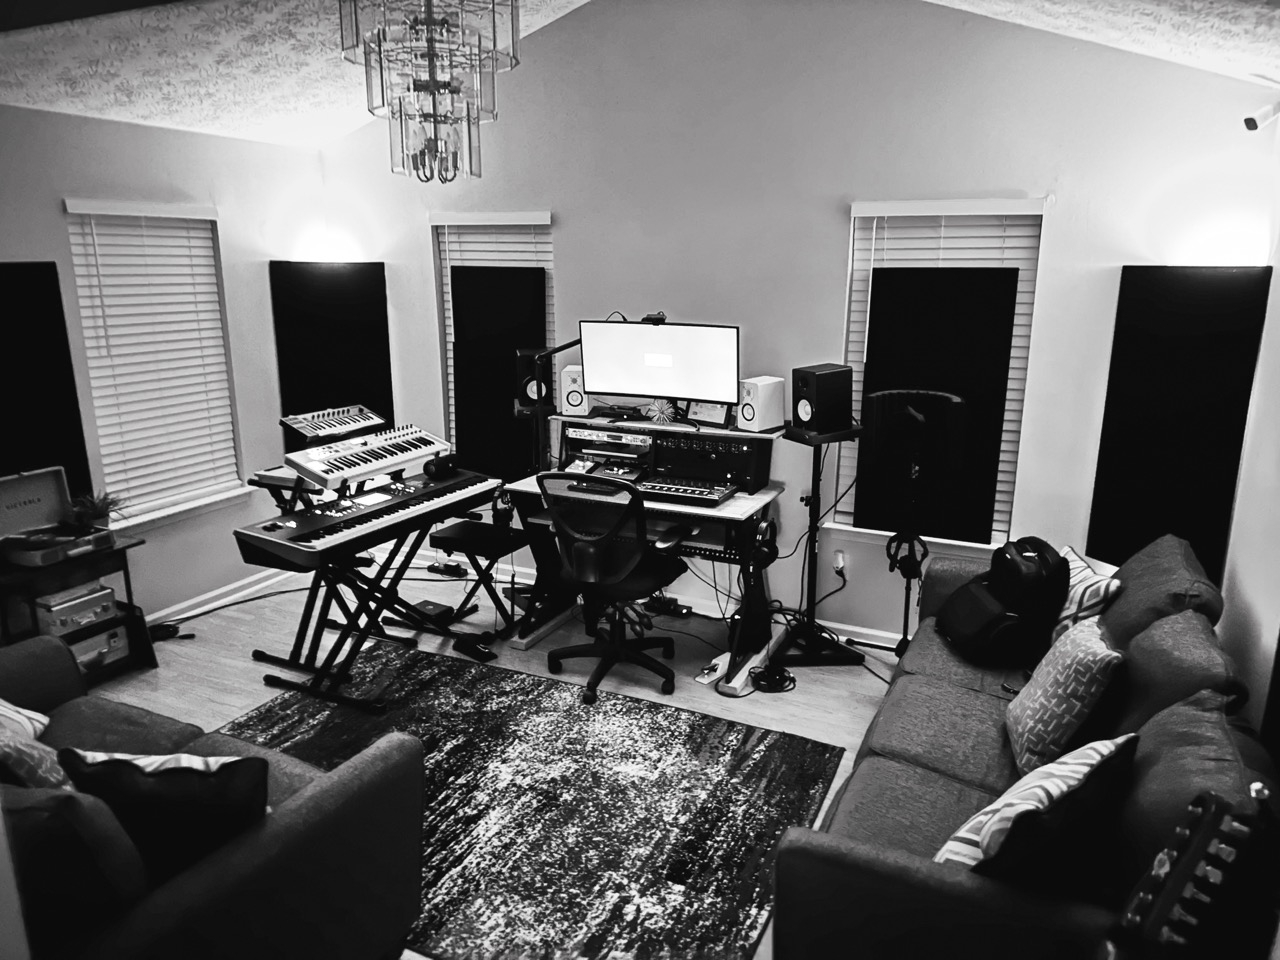
Every great song starts with a vision and the right tools…
Whether you’re just setting up your first bedroom studio or ready to expand your creative space into a dedicated home studio, this guide is here to help you build a studio that not only sounds amazing—but also reflects your purpose and passion for using your gifts for the Kingdom.
Also, here is a tip for you (demonstrated with the first phase). I know I’m about to give you a huge list of assets to invest in, but remember this…
No matter where you are on your journey, remember: before asking “what should I buy?”, ask “what do I already have?”
– Quentin W.
Embrace resourcefulness and let ingenuity guide you to make the best, simplest choices for this craft.
Let’s get started…
Just like your music, your studio will evolve over time…
Here are the four key phases every recording space goes through:
This post will be long, because I am going to get into each item you need, per phase…
For newcomers, I suggest working through each phase step-by-step.
If you’re already experienced with the basics, feel free to jump ahead as needed.
Everyone else, let’s go…
Is it possible to just have the bare minimum gear and still make quality demo songs?
The answer is a resounding YES…
There are some insane technologies that exist today, and you only need three items to have a full mobile studio…
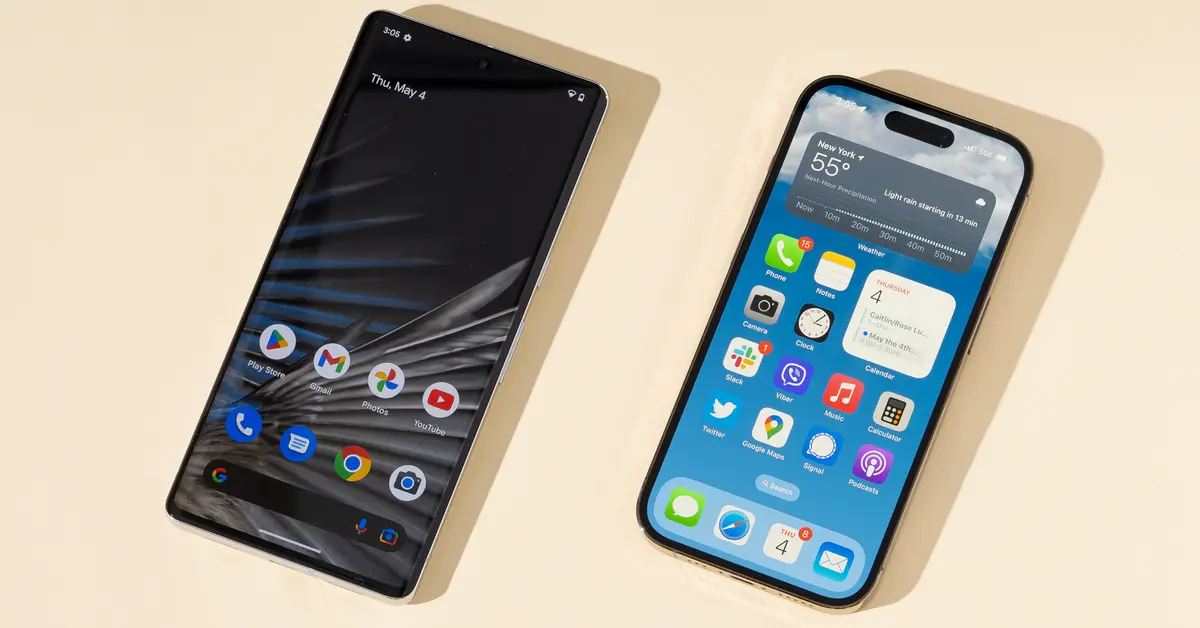
I’ll make a bold assumption: you have a phone…
You are probably reading this article from your phone right now.
What if I told you, “That’s it. That’s all you need.” Well, it’s true – you only need a phone (and storage, of course, lol).
The next item is extremely important…
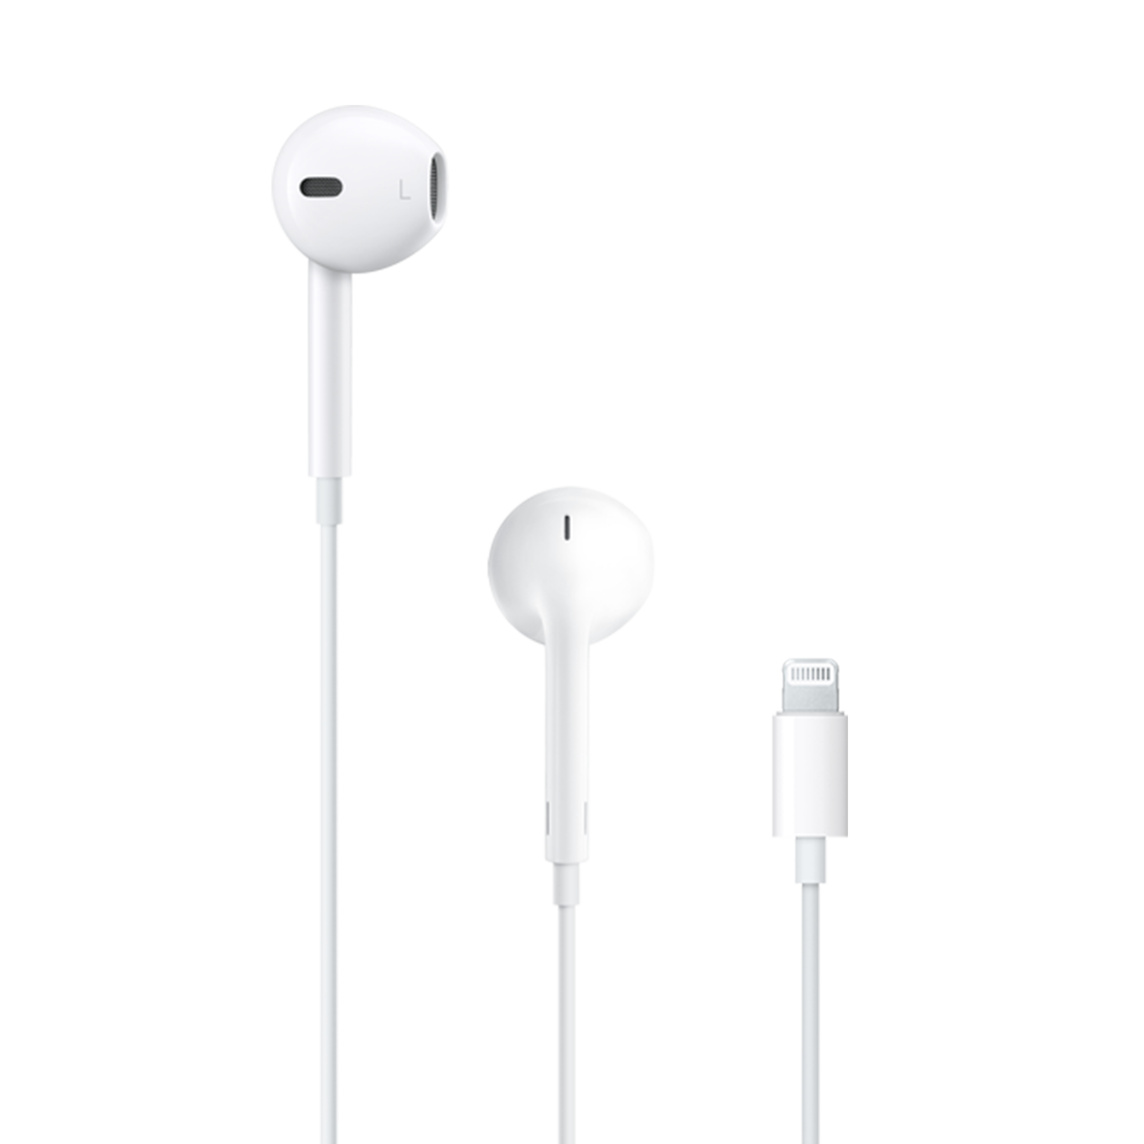
You will also need wired headphones with a microphone built-in.
They MUST be wired… this is to avoid that dreaded latency of wireless headphones.
Since these are no longer in the box when you buy a new phone, you will most likely have to purchase a pair:
What is it?
A mobile DAW (I’ll call it “mDAW”) gives you the flexibility to create, record, and even mix tracks ENTIRELY ON YOUR PHONE – people have achieved excellent results using just these tools!
There are several mDAWs on the market now, but my absolute TOP recommendation is:
It’s completely free and available on both iOS and Android. It offers a full-featured multi‑track editor, virtual instruments, effects, and loop libraries – and the list goes on…
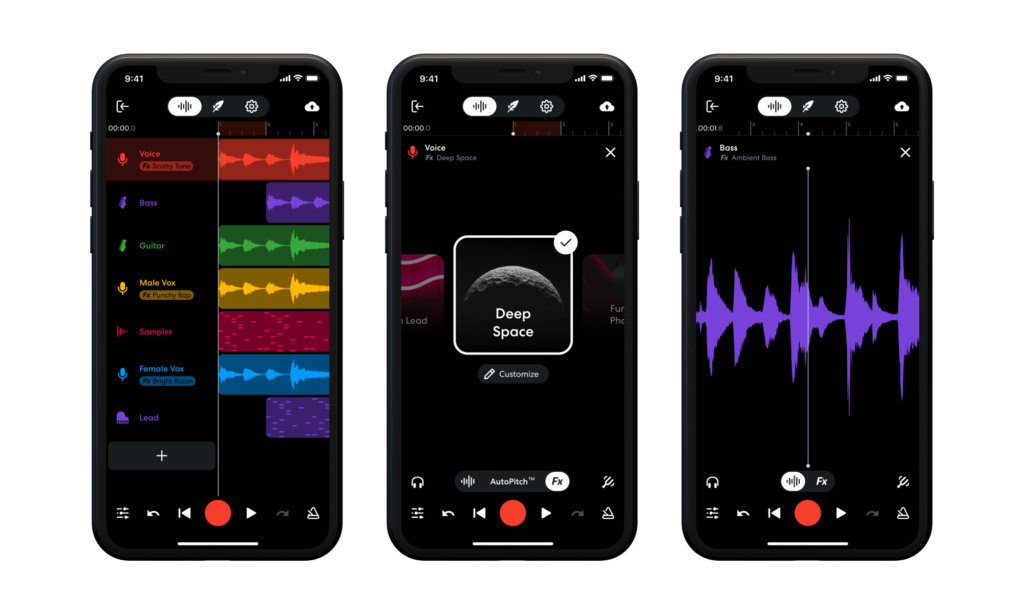
And that’s it for PHASE 1… A full studio in your pocket. For those starting out, this is all you need.
Now, if you’ve got a little money to invest and you’re ready to level up, let’s move on…
If all you’ve ever had is PHASE 1 and are just now starting to invest money into this, you may be thinking…
Where do I even begin to set up my own home music production studio? Isn’t it super expensive? What gear can I get now and build on later?
A bedroom studio is the perfect first step—giving you a dedicated space to create without overwhelming yourself with unnecessary equipment.
Side note and tip for your future gear purchases:
Here are nine must-have items for a solid bedroom studio setup:
My advice here is simple… get a Mac… any Mac – mini, MacBook, Air/Pro. When you get one, you’re already 80% complete with your essentials.
With the new M Series (Apple Silicon) chips, any Mac with base configurations is acceptable. Here are a few I recommend:
One of the main reasons I will always recommend a Mac is the recording software I’ll talk about next…

What is it?
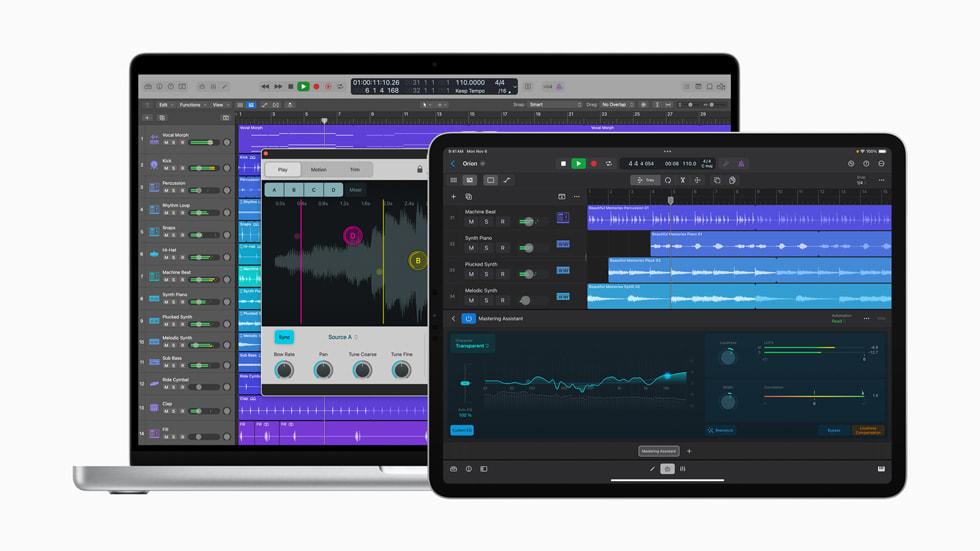
A DAW lets you record, edit, and mix your music all in one place, and it offers a suite of creative tools to shape your sound.
The only DAW I recommend is Apple’s Logic Pro.
First off, yes it competes heavily with Pro Tools and allows you to do all the same essential music making things…
but even more, and what makes it the BEST choice, is cost – you will only ever pay one time for this DAW. Here is a link to Logic Pro:
What is it?
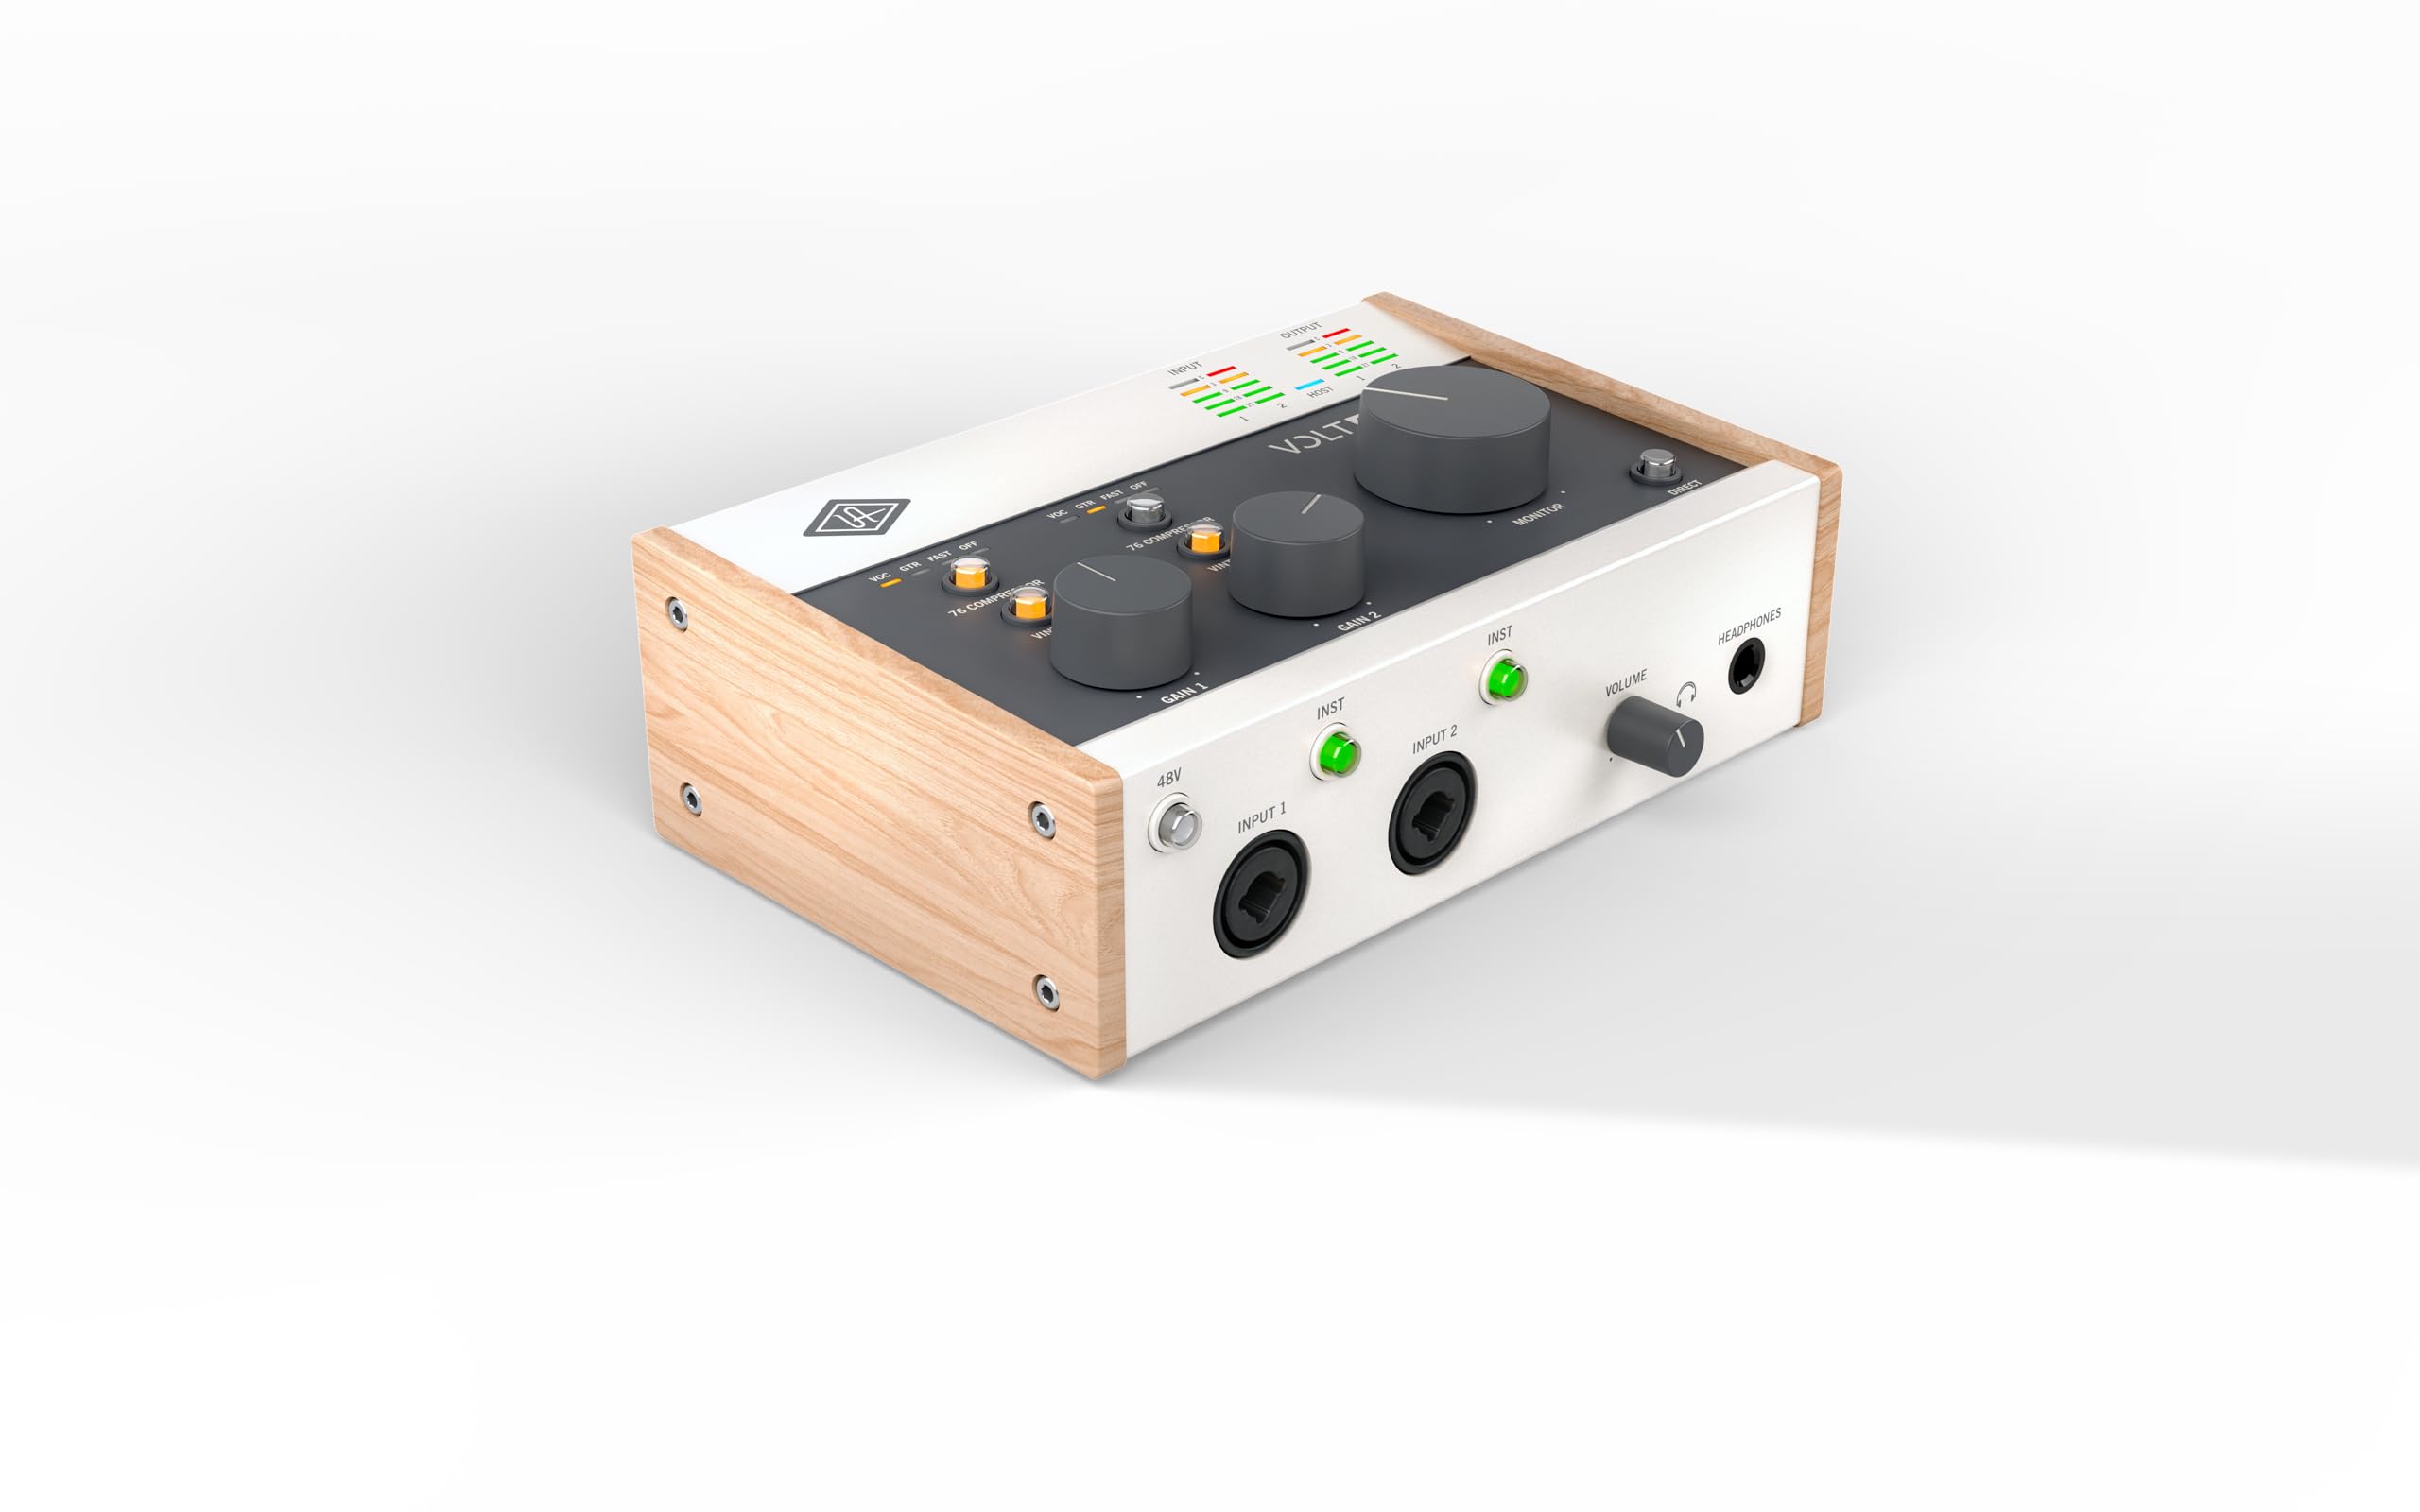
An audio interface connects your microphones and instruments to your computer, converting analog signals into digital.
Starting out, you only need two inputs – one for a mic, and one for an instrument (if you play one).
The Universal Audio Volt series is what I highly recommend:
Now, the secret benefit of having two inputs.. it is compatible with the BEST mic recommendation I’ll share below…
Sorry, if you don’t know what a mic is, you have some other research to do, lol…
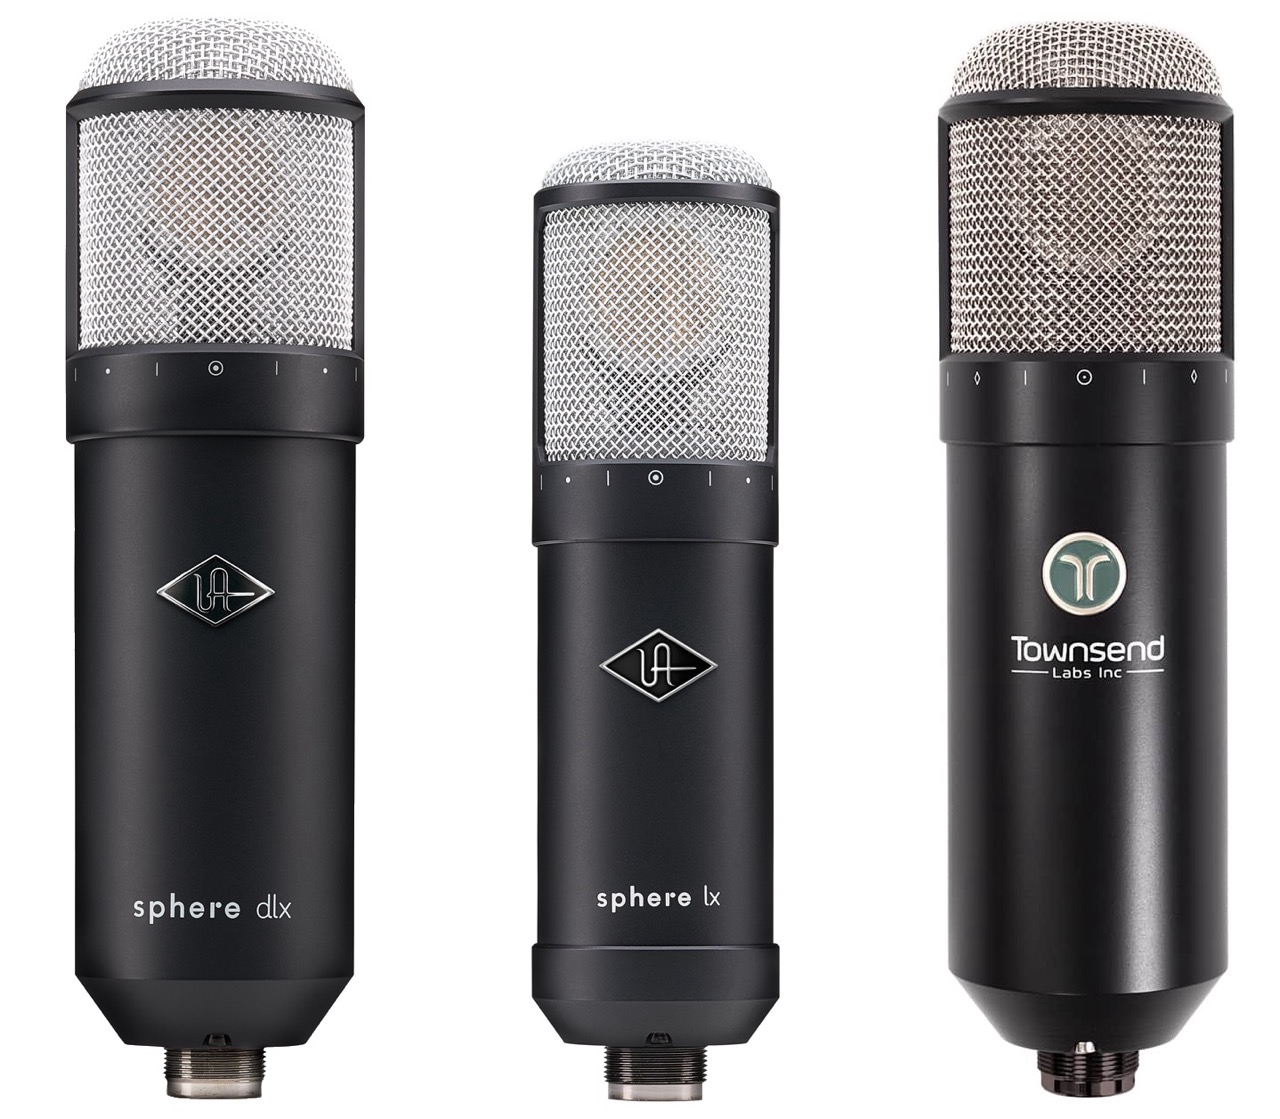
A collection of microphones (called a “mic locker”) can get very expensive – up to $150,000 to have all the popular mics for every occasion.
What if you could have all of them… in one microphone… with near perfect replicated sound…
…at 1-1.5% of the cost?
Enter my top recommended mic:
Not ready to make that big of an investment? Get the little sister version – still highly recommended:
If you aren’t ready to pay that much, I recommend a large diaphragm condenser mic with a FLAT frequency response. The best mics in this category are:
Next item…
In earlier days, headphones often had limited frequency response, poor imaging, and less detail; they couldn’t help you create a decent mix…
Today, there are HUGE players in the game, and you can 100% achieve a perfect mix in headphones (the music community will fight me on this one, but I’ve done it… and so have several others).
You will need two pairs of headphones… one for tracking (recording) and one for mixing and mastering. Here are the top two pairs I recommend:
The mixing headphones are worth the expense, but if you can’t get them right now, the HD 280 Pro’s are perfectly fine for mixing (just be careful with that exaggerated bass).
Ok, next are…

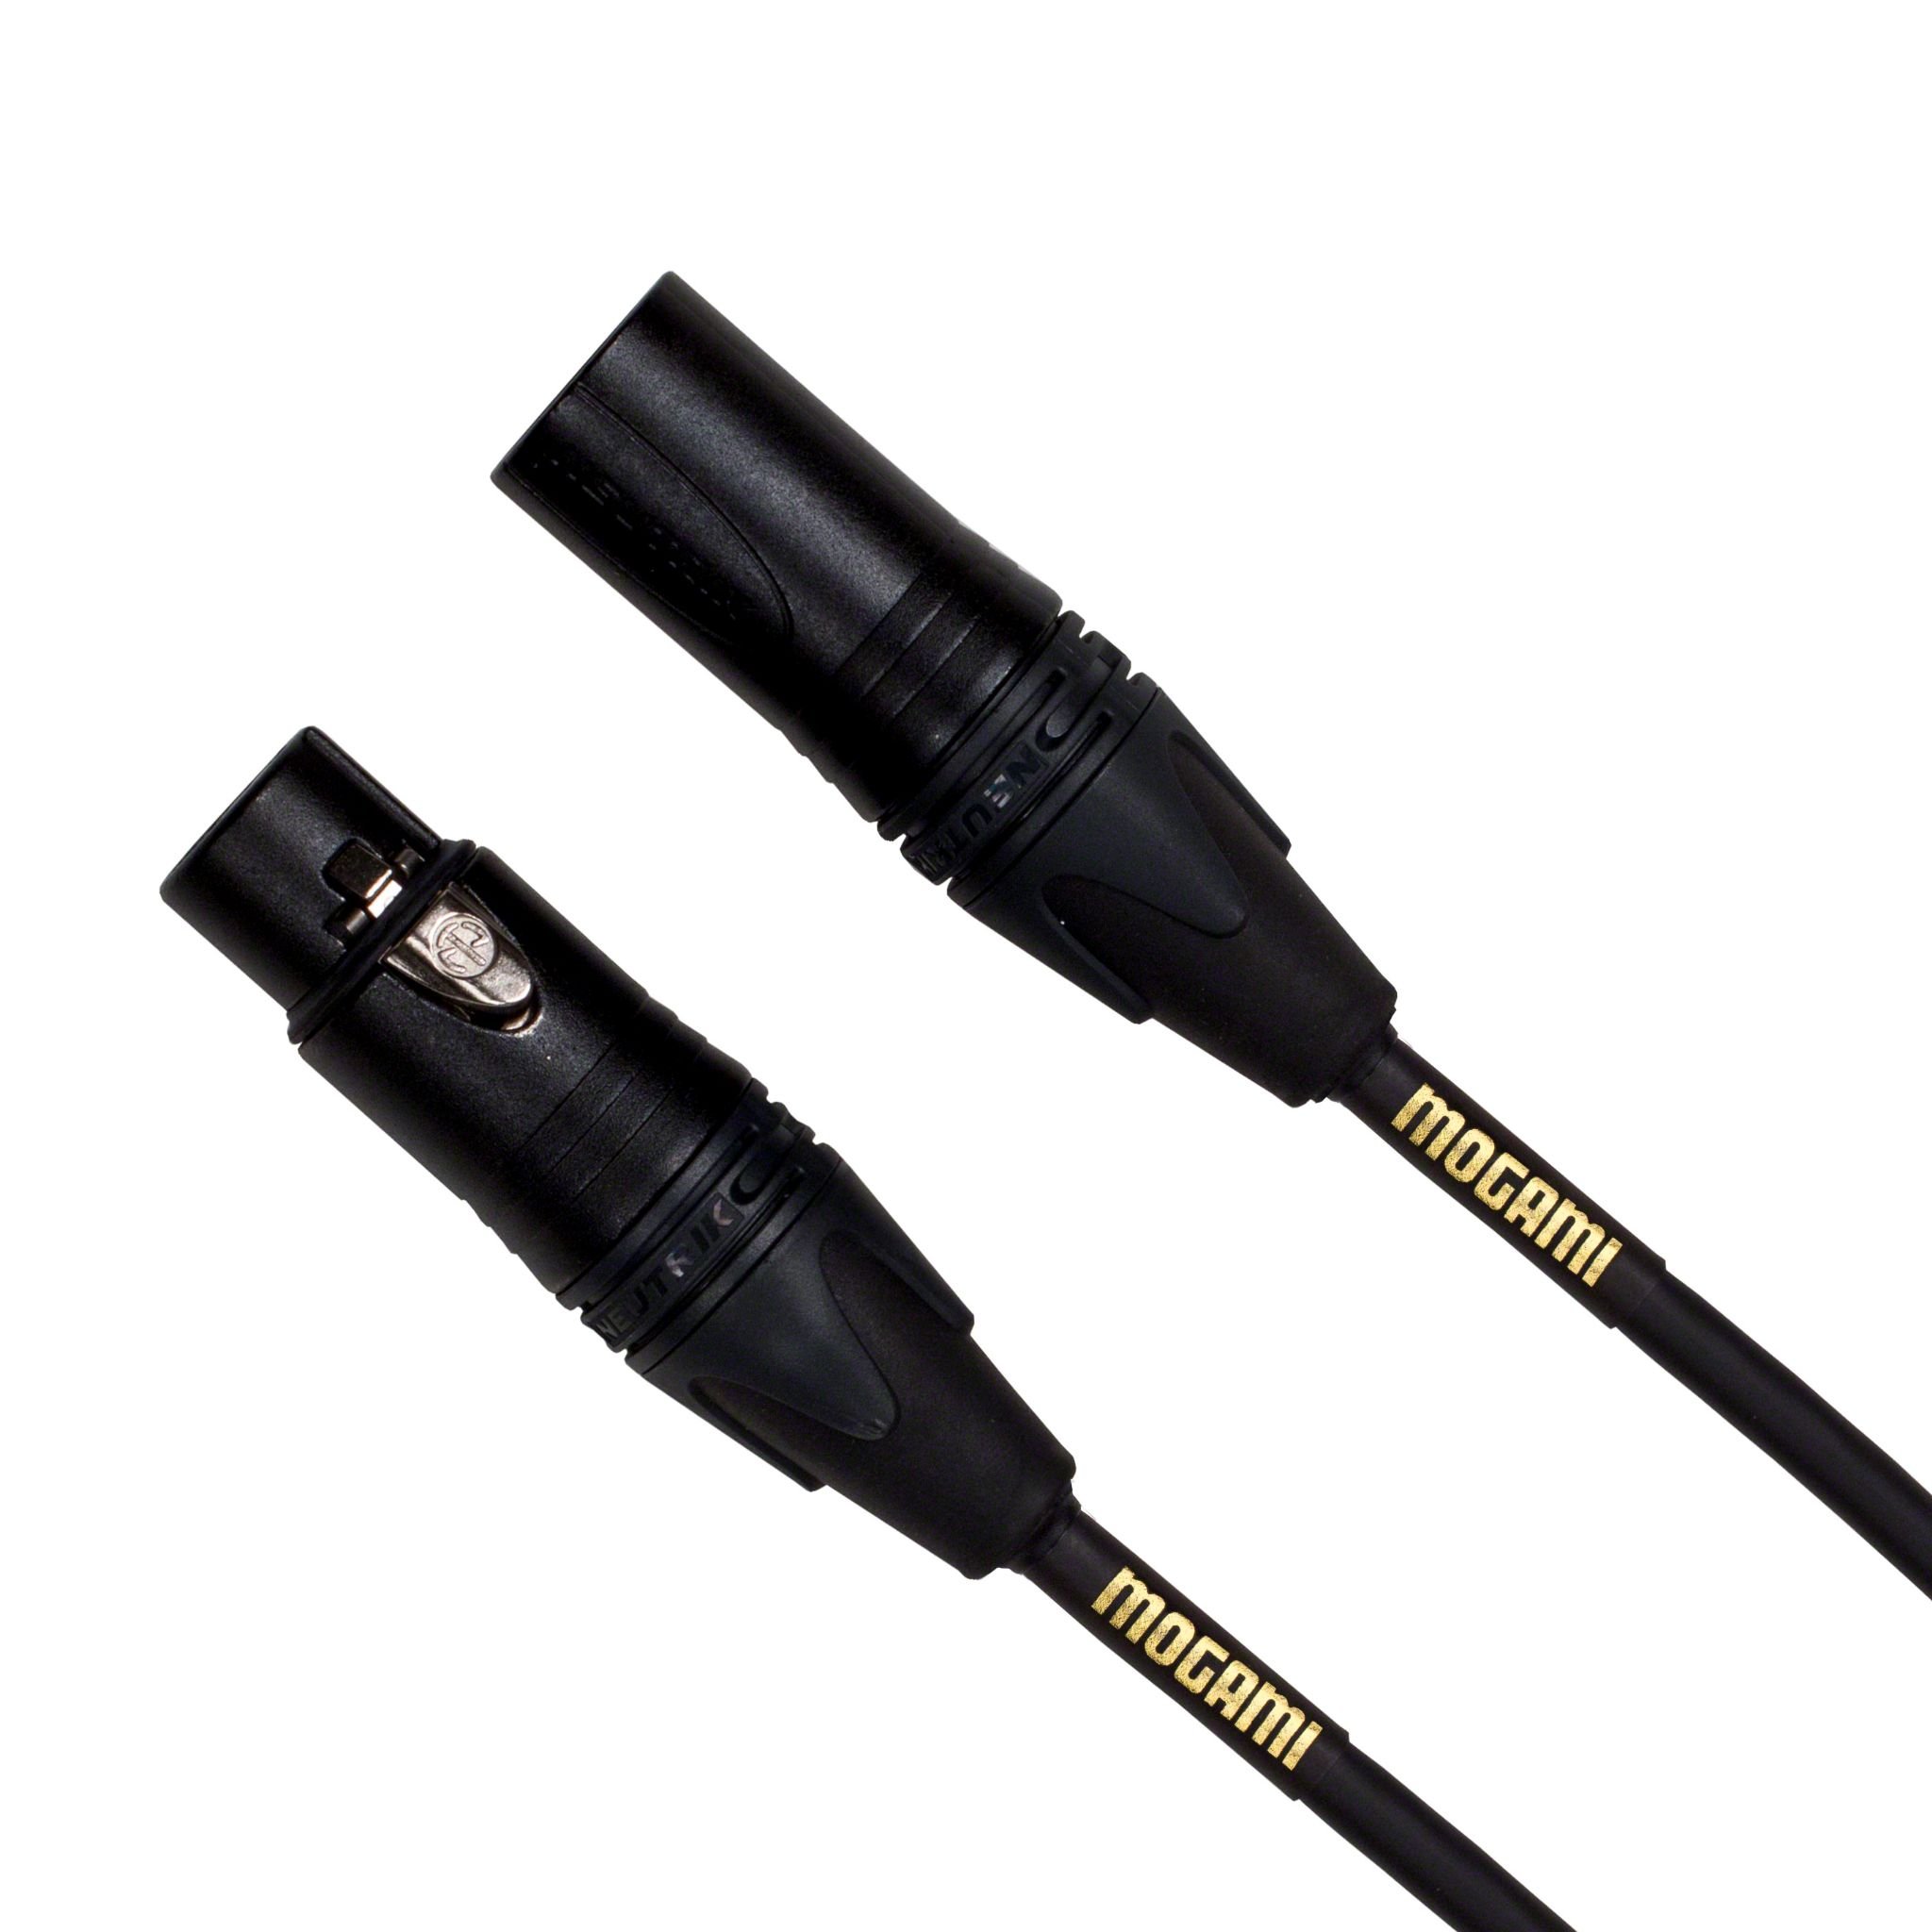
Look… don’t cheap out when it comes to microphone cables. They are the unsung heroes of your studio setup…
You can have the best computer, interface, mic – whatever – and a bad cable can make your vocals sound trash by introducing static, shorting out, etc.
The only way to go here are Mogami cables:
With a mic and cable, you’ll need the next item…
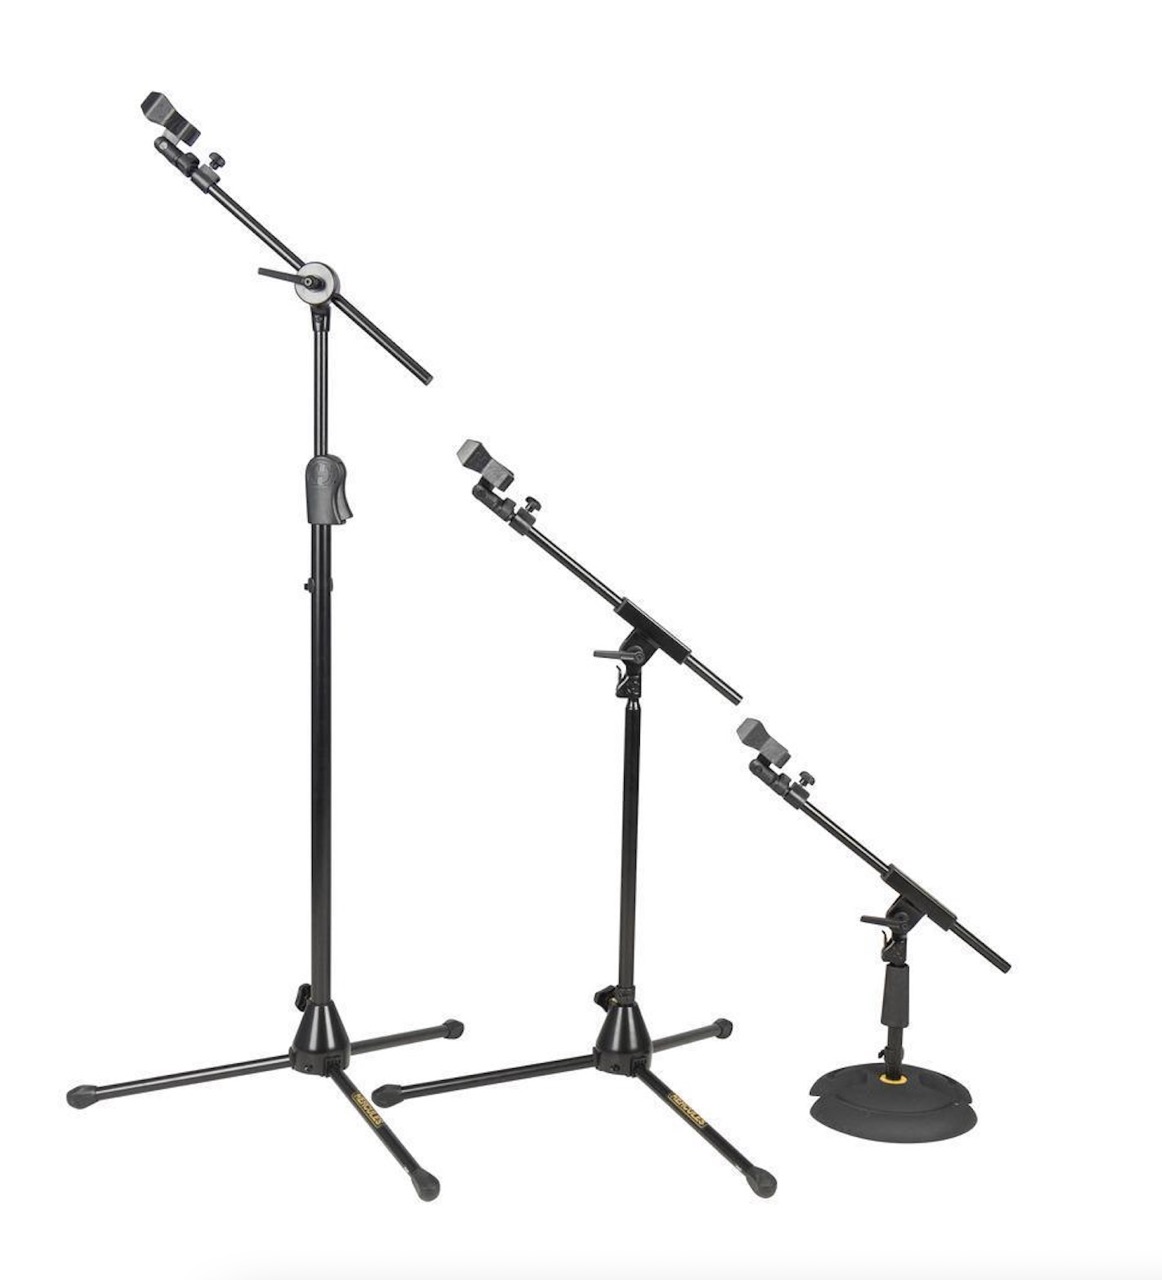
Microphone stands keep your mics secure and in the perfect position.
If you have an expensive mic, look for sturdy, adjustable stand. I recommend:
If you have lightweight microphone and the surface you’re on support it, go for a boom-arm mic! It’s cheaper in most cases, and it is perfect (I chose it over my traditional stand any day):
What is it?
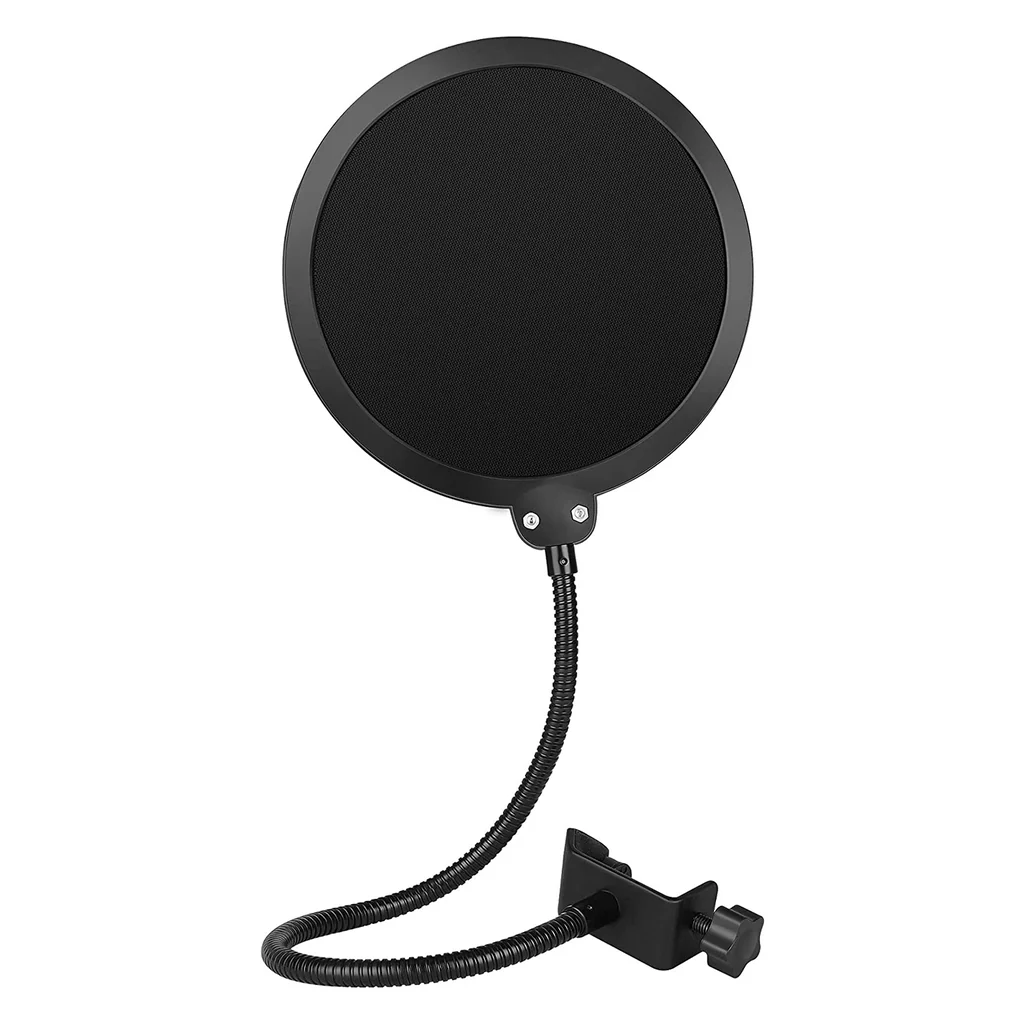
A pop filter softens harsh vocal plosives (sounds like “explosives”; they occur on words beginning with ‘p’ and ‘b’) while also improving the clarity and warmth of your vocal recordings.
For the most part, any brand will do. Just be careful not to go too cheap, or your gooseneck won’t hold its position.
Here’s what I recommend:
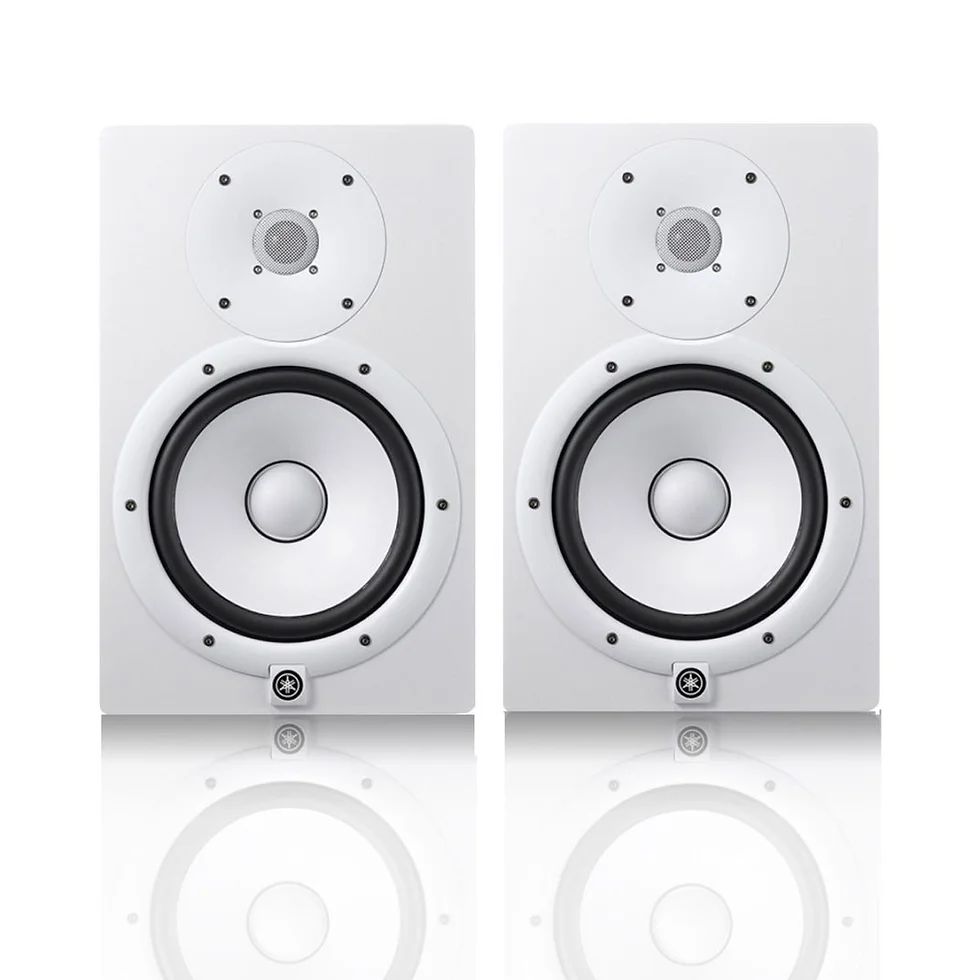
Studio monitors can usually give you an accurate picture of your sound.
However, it only works if your room is treated acoustically… which is expensive, and not totally necessary at this stage.
The main use you’d have for monitors right now is to be able to play your recordings back loudly for others in the room to hear.
All that said, buying them now will set you up for PHASE 3, when you start to actually invest in a dedicated space…
If you’ve got it in the budget, here are my recommended entry-level monitors:
Oh, and remember to get speaker cables.
That’s wraps up PHASE 2.
For most people, this phase is sufficient with all you need. Heck, Billie Eilish recorded her early work—including her breakout single “Ocean Eyes” and the material for her debut EP “Don’t Smile at Me”—in a home (bedroom) studio.
So, feel free to stay at this stage. You do not have to move on from here to make great music…
However, some of you will eventually crave more—more control, better sound, and a space that truly supports your creativity.
When that time comes, it’s time to level up to…
After recording in a bedroom studio for a while, you’ll start running into some frustrations.
Your space feels cramped, your workflow isn’t as smooth as it could be, and—let’s be real—your recordings sound like they were made in a bedroom. 😅
At some point, you’ll realize it’s time to step up…
You need a dedicated space where creativity flows freely and your sound quality matches your vision. A setup that lets you focus on the music, not the limitations.
When that time comes, here are seven essential upgrades to take your home studio to the next level:
Now let’s take a closer look at each one…
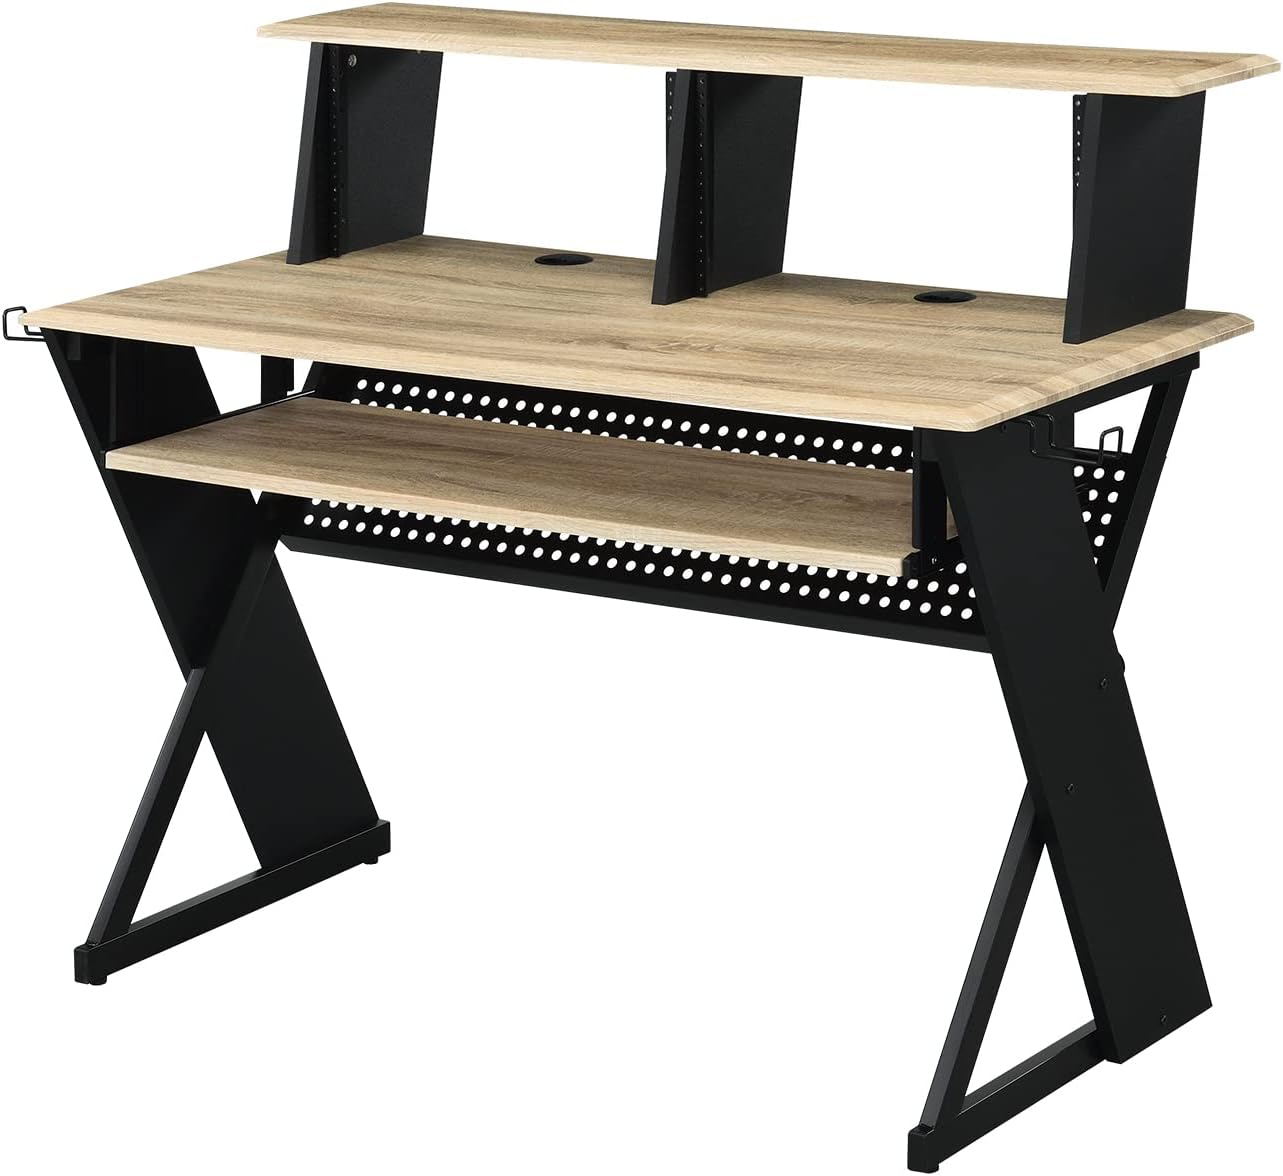
No matter the size or setup of your home studio, one thing stays the same—the desk is the heart of the space.
I know any sturdy desk you already own will do the job at first. However, the desk is where creativity happens, where you refine your sound, and where everything needs to be within reach.
That’s why you should have a desk with sufficient space AND scalability.
Here’s a solid option I recommend, featuring a built-in rack mount—perfect for when you reach the semi-pro studio phase. The recommendation is:
If you’re serious about making music, your studio will become your second home.
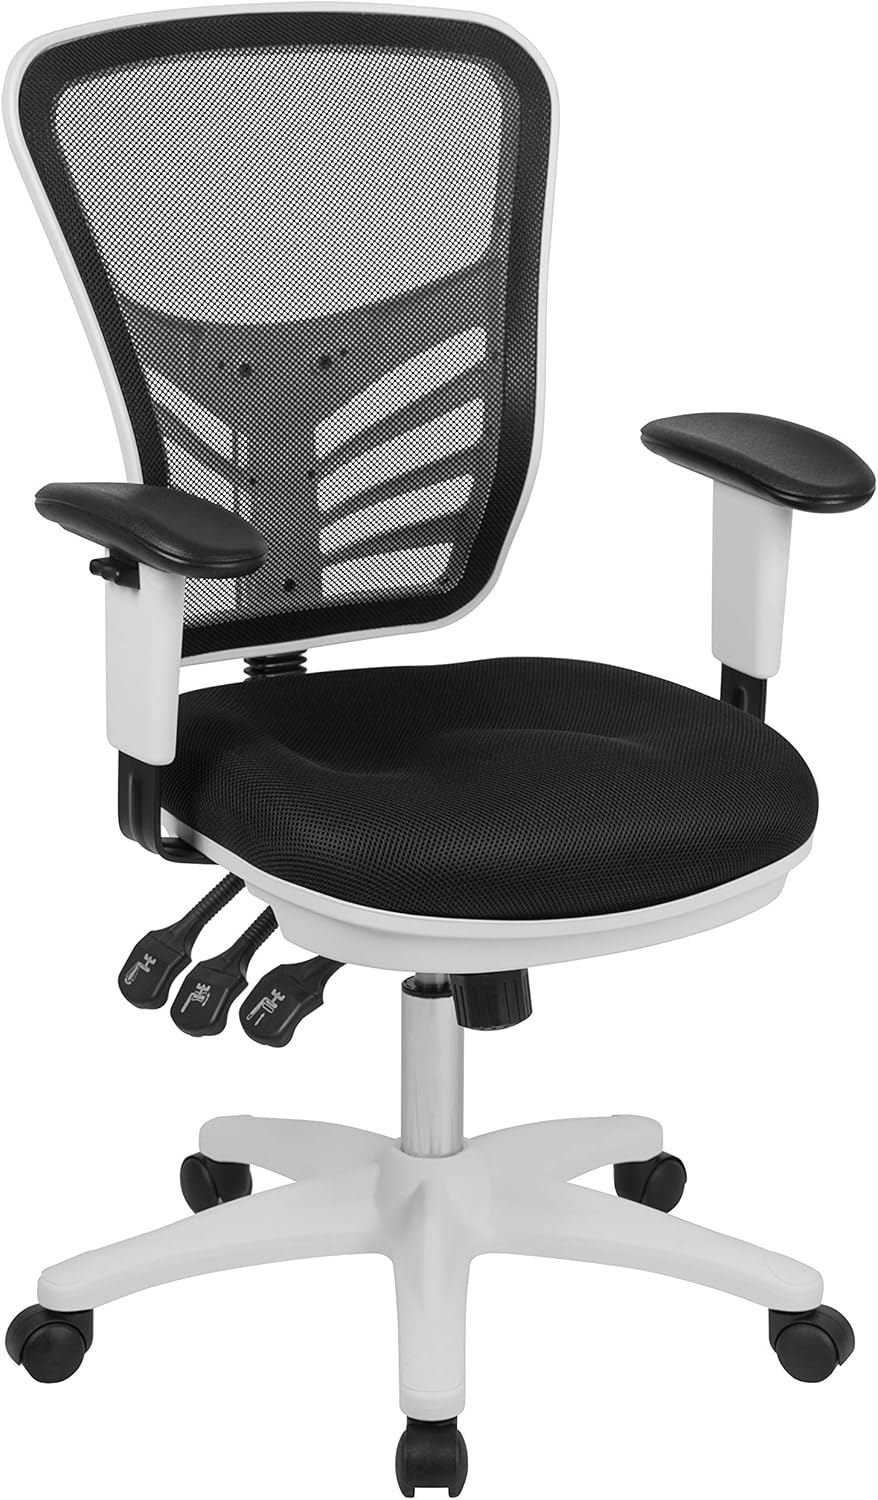
You’ll spend hours in that chair—probably more than in your bed some days.
At that point, investing in something comfortable with good back support isn’t just a luxury—it’s a game-changer for your workflow and focus.
An office chair I recommend that has great support and many color options is:
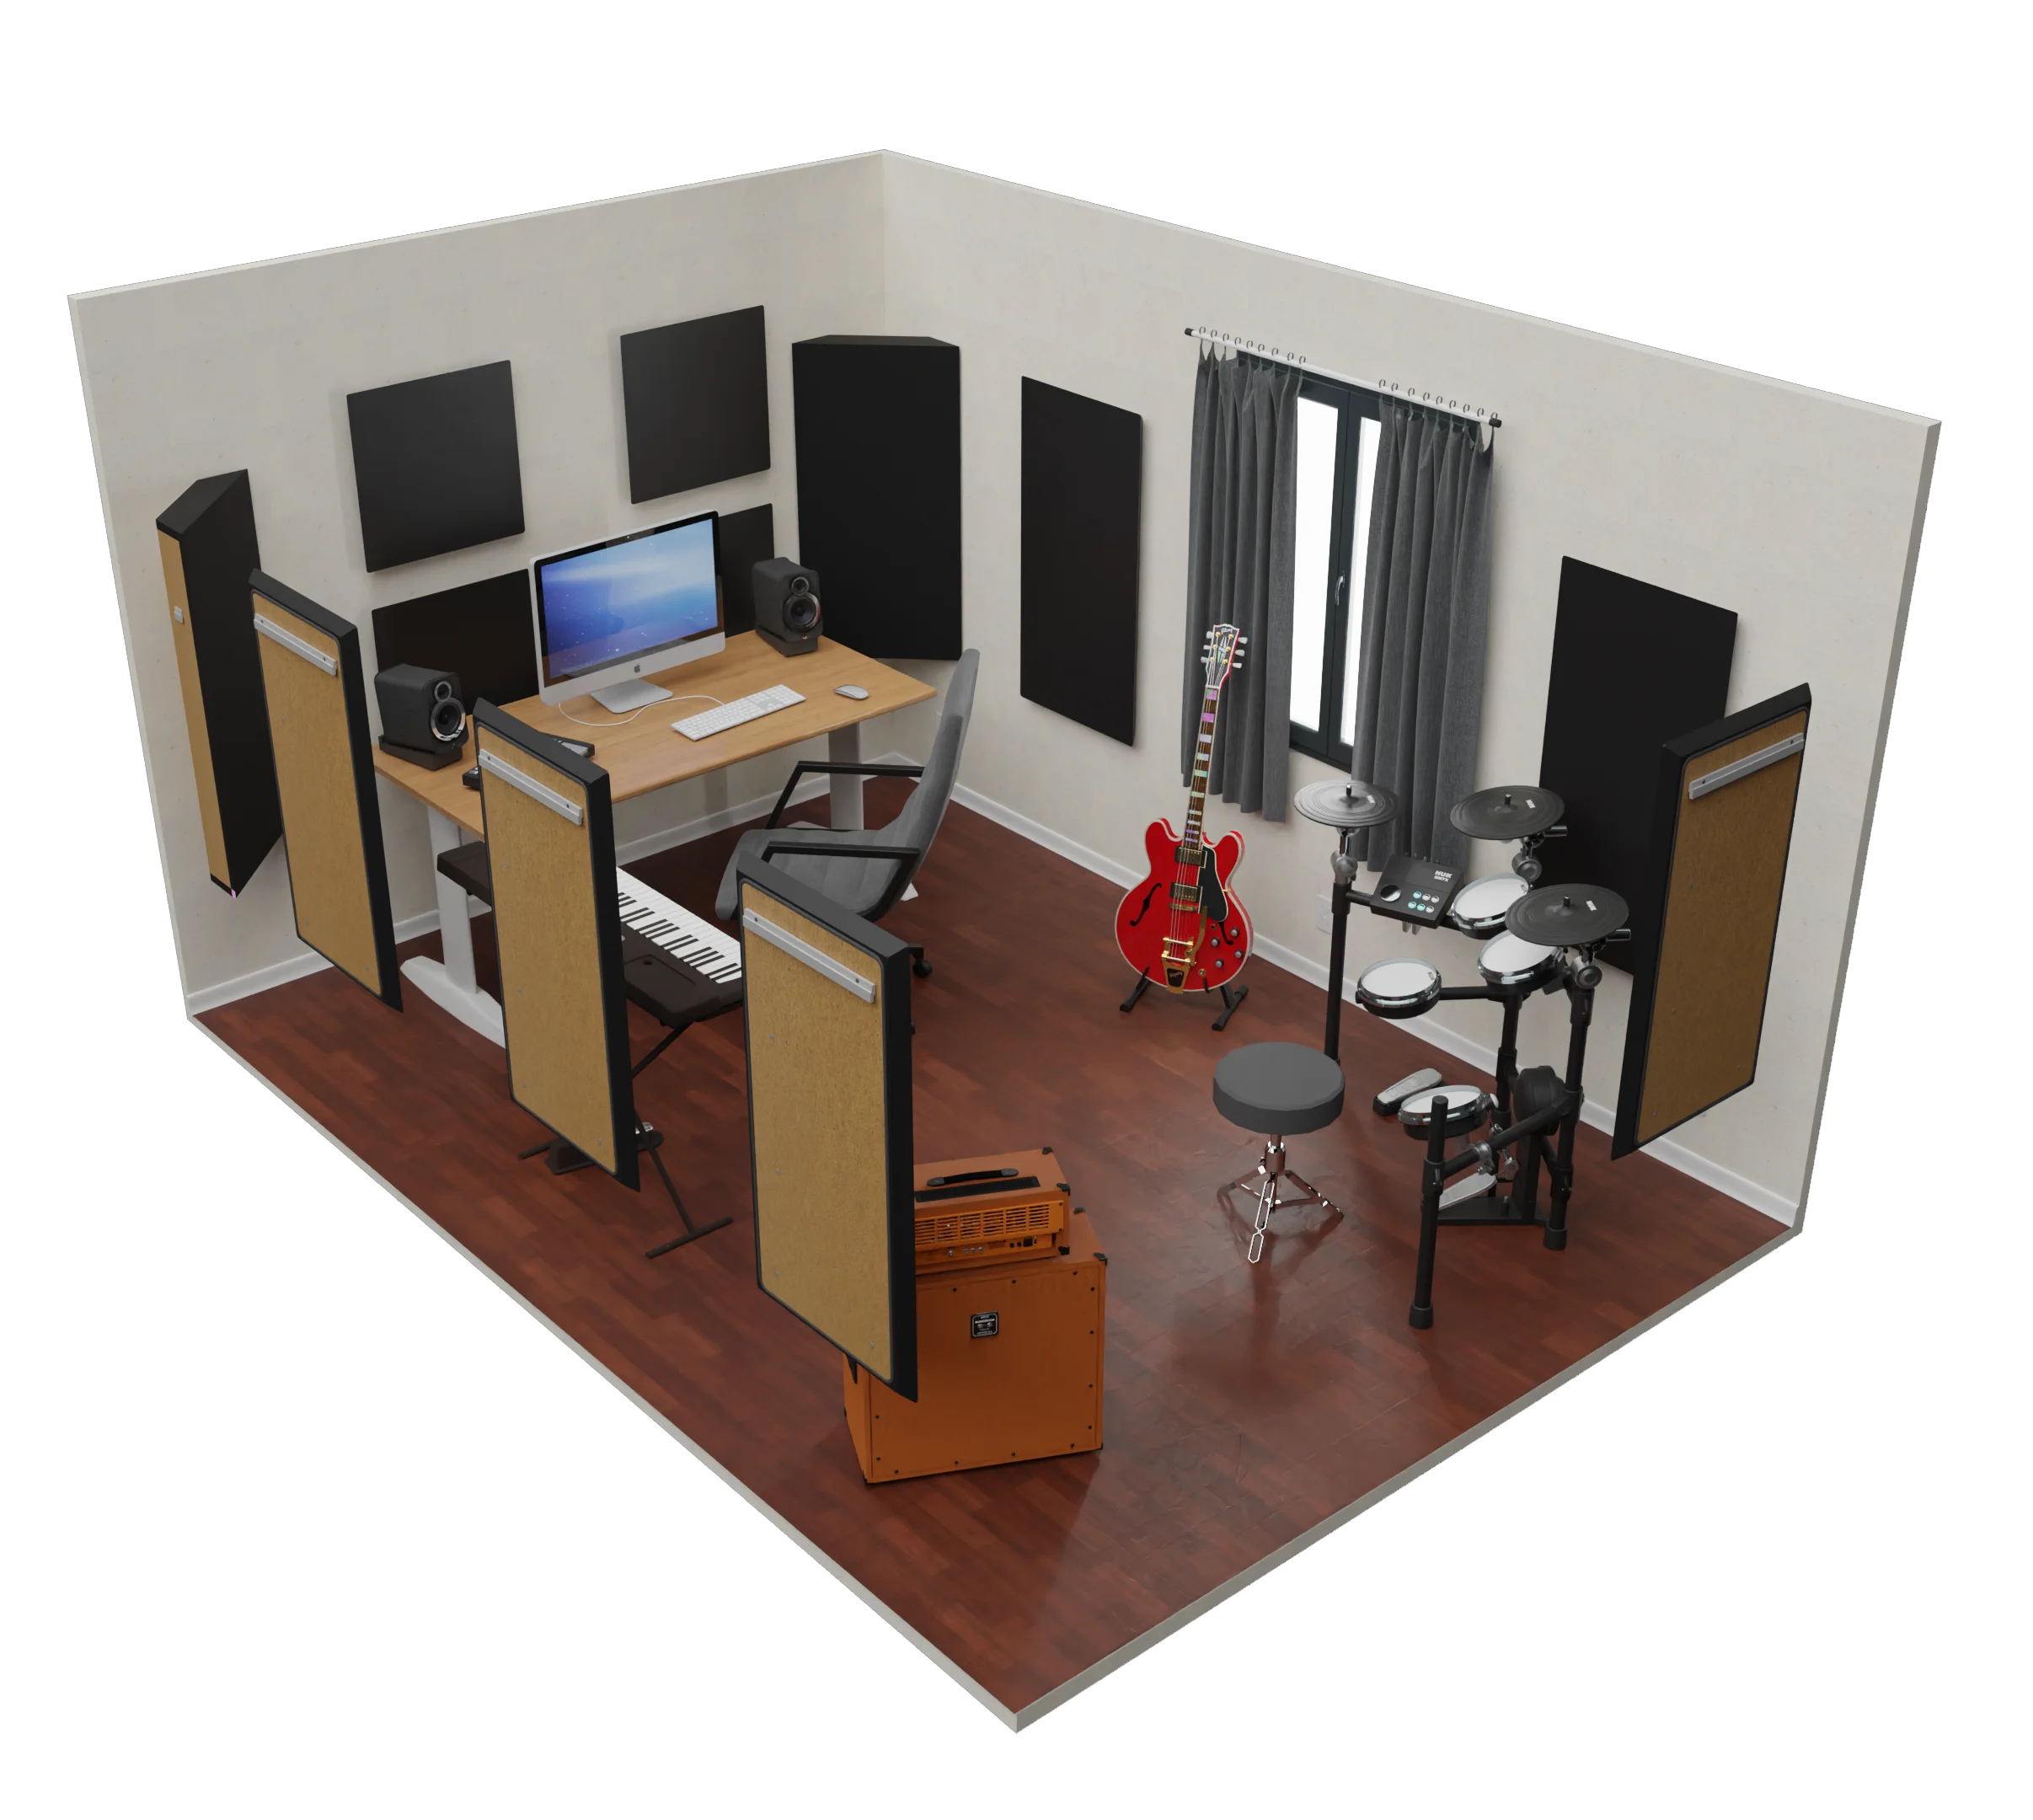
I know the temptation—cover the walls with square foam panels and call it a day. It looks cool, I get it. But let’s be real… it doesn’t do much.
Foam absorbs a little, but if you want a real difference, you need proper acoustic panels.
Unlike cheap foam, high-quality panels absorb low-mid to high frequencies and tackle the biggest problem in small rooms—standing waves.
These are the sound reflections that bounce between parallel walls, making your mix sound muddy no matter what you do.
If you’re working in a typical home studio, this is a real issue.
Invest in real acoustic panels once, and you’ll never have to buy them again.
Here are the only ones I recommend:
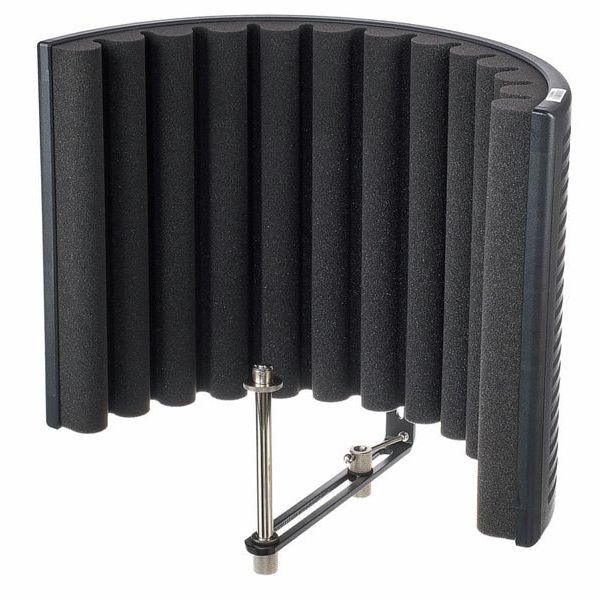
If your studio is properly treated, you don’t really need this… but it’s still a great tool to have.
A reflection filter helps control unwanted reflections, especially when recording vocals in untreated spaces. Instead of treating the entire room, it surrounds the mic and absorbs some of the sound before it bounces back.
It’s not a replacement for real acoustic treatment—not even close. But if treating your space isn’t an option yet, this can be a solid workaround, especially in a bedroom studio.
Here’s the one I recommend:
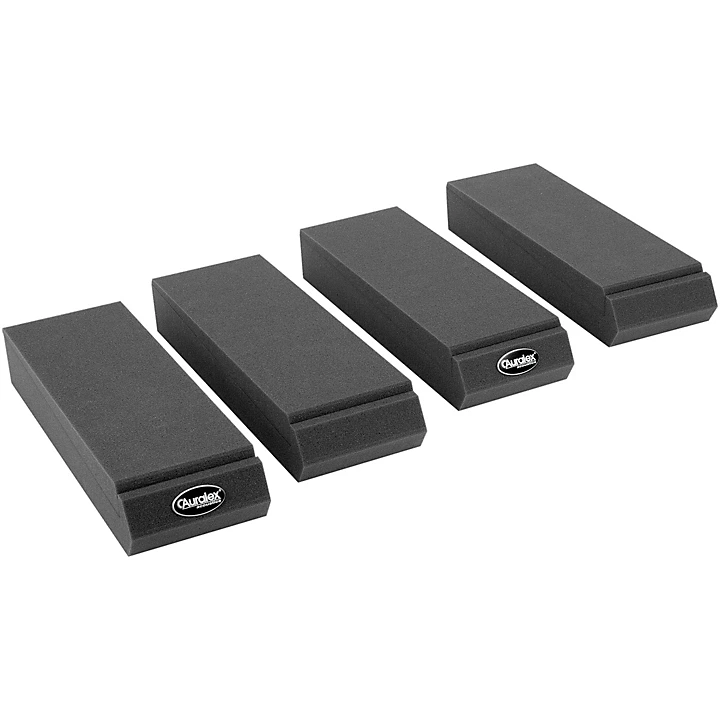
Once your acoustic treatment is set, monitor isolation pads are a simple upgrade that makes a real difference.
Placing monitors directly on your desk causes vibrations that muddy your sound and mess with your mix. Isolation pads stop that by creating a buffer between your monitors and the surface.
You don’t need anything fancy. I’ve only ever bought one pair, and they’ve been all I’ve ever needed.
Here’s the only pair I recommend:
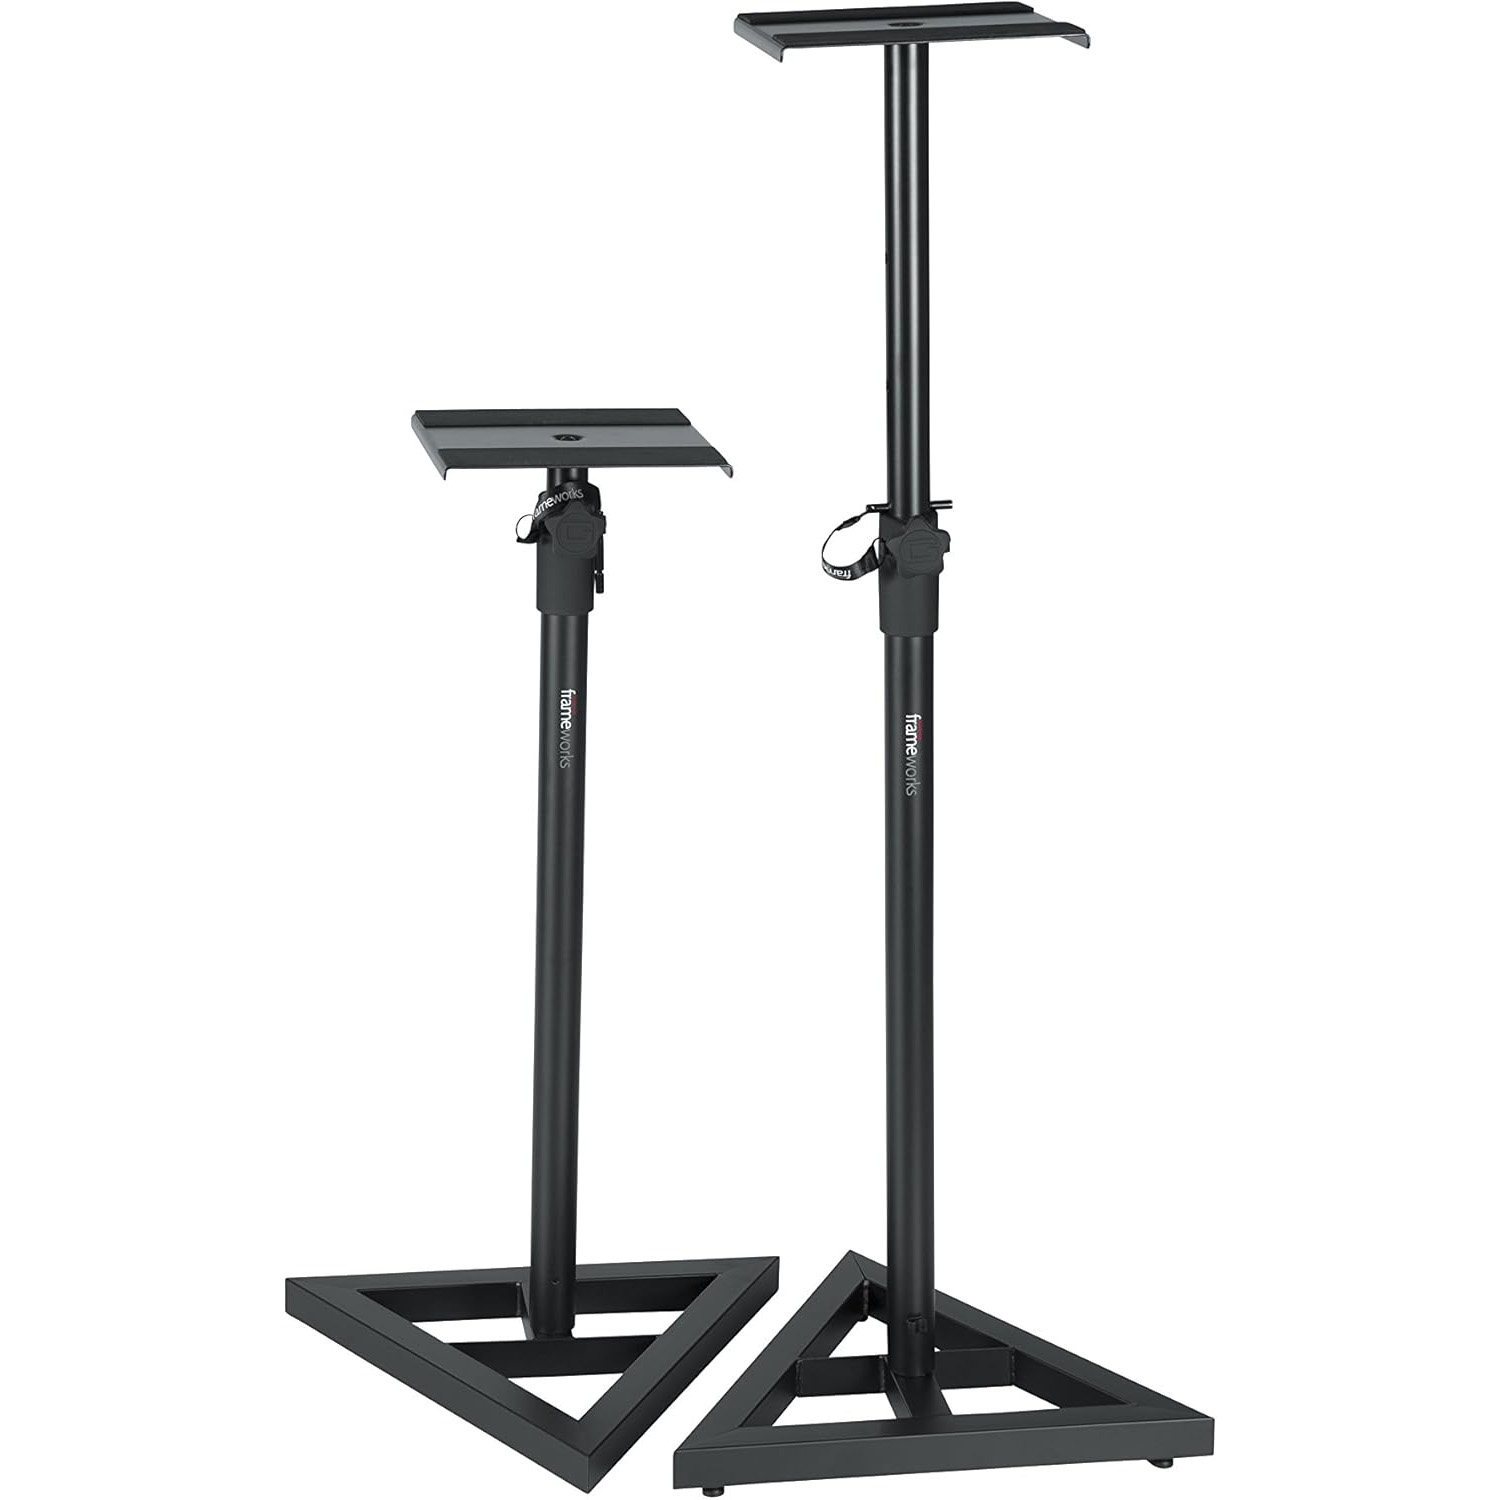
For even better monitor positioning, studio monitor stands are the way to go.
Unlike a desk setup, stands let you adjust height, distance, and angle for the best sound. Proper positioning ensures your monitors are at ear level and in the sweet spot for accurate mixing.
Bonus: They also help reduce desk vibrations, keeping your low end cleaner.
Most stands in the $100 price range will support 99% of small to mid-sized studio monitors. Here is one I recommend:
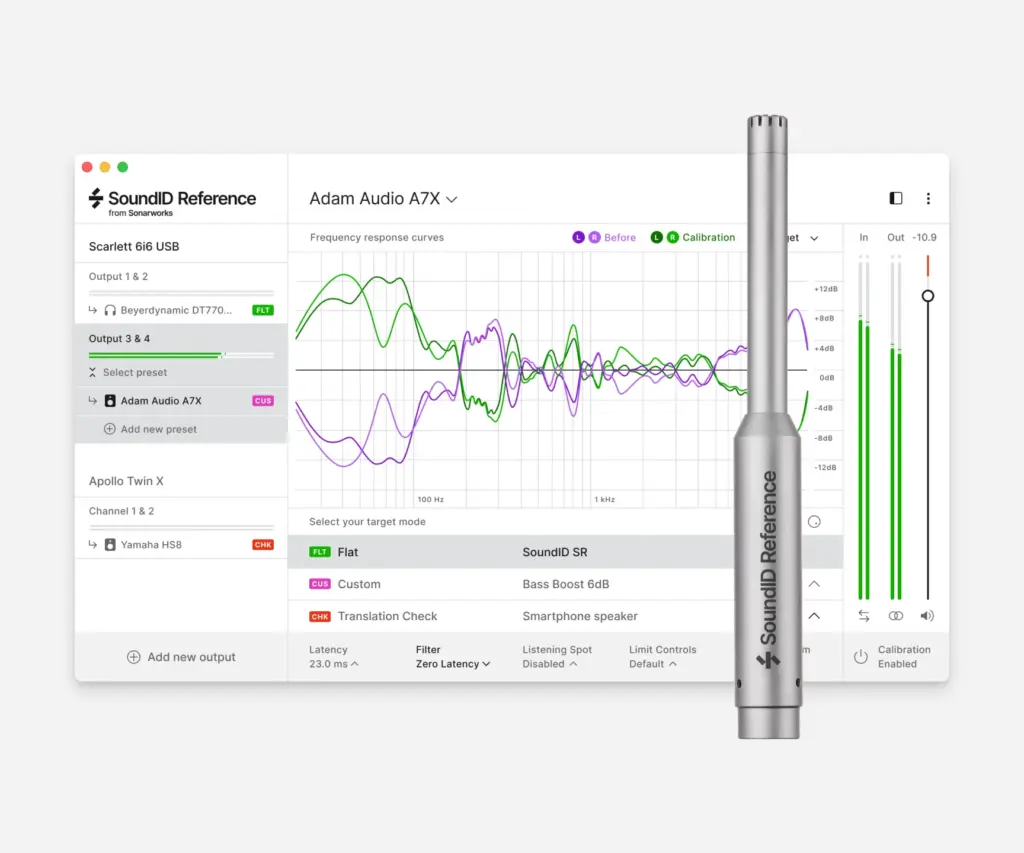
Even with proper acoustic treatment, your monitors aren’t telling you the full truth about your sound…
Every room has peaks and dips in frequencies that can throw off your mix—making it sound great in your studio but completely different everywhere else.
That’s where studio monitor calibration comes in.
With software like Sonarworks SoundID, you can measure your room and correct your monitors for a flatter, more accurate sound.
The result? Your mixes translate better everywhere—car, phone, church, wherever.
Without calibration, you’re guessing. With it, you’re making pro-level mix decisions… get it before you go to the next studio PHASE:
That wraps up PHASE 3.
By now, you’ve built a solid home studio that’s more than capable of bringing your ideas to life. If you’re creating solo, stop here… this setup should be all you ever need.
But if you’re ready to work with other artists, expand your sessions, and start running a serious operation, it’s time to step up.
This is exactly where 338 Studios made the leap to a semi-pro setup—PHASE 4. More inputs, better monitoring, and a workflow built for efficiency.
When you’re ready to level up, here’s what comes next…
At this level, it’s all about getting big studio sound without the big studio price tag.
You need a setup that works fast, delivers pro-quality results, and makes collaboration seamless.
Whether you’re working with artists, producing full projects, or running paid sessions, efficiency matters…
Time is money. Slow workflows, constant tweaking, and unreliable gear kill creativity and cut into your bottom line. A semi-pro studio eliminates those bottlenecks, so you can focus on making music—not troubleshooting.
If you’re ready to work smarter, move faster, and elevate your sound, here’s what you need next:
Now let’s look at each one in more detail…
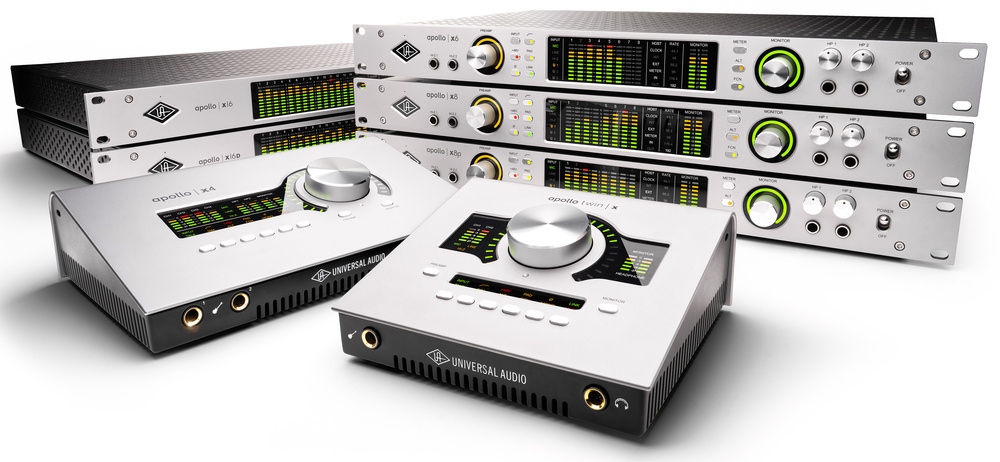
Your audio interface does more than just connect your gear—it shapes your sound.
If you want that warm, pro-level, analog feel, you need an interface with internal DSP (Digital Signal Processing).
This lets you run real-time emulations of classic analog gear—preamps, compressors, EQs—right inside your interface, before the sound even hits your DAW.
If you were to buy all that analog hardware separately, you could easily be looking at a full rack costing 5 to 10 times as much.
If you want that classic analog warmth without a rack full of expensive gear, this is the move.
For this, Universal Audio is the way to go:
A power conditioner keeps your rack clean, organized, and protected. Instead of a mess of cables, it powers everything from one source.
But more importantly, it protects your gear. It filters out noise, regulates voltage, and prevents power surges that could fry your equipment.
Bonus: It also reduces hum and interference, so your recordings stay clean.
If you want your setup to last and sound its best, this is a must.
Here’s what I recommend:

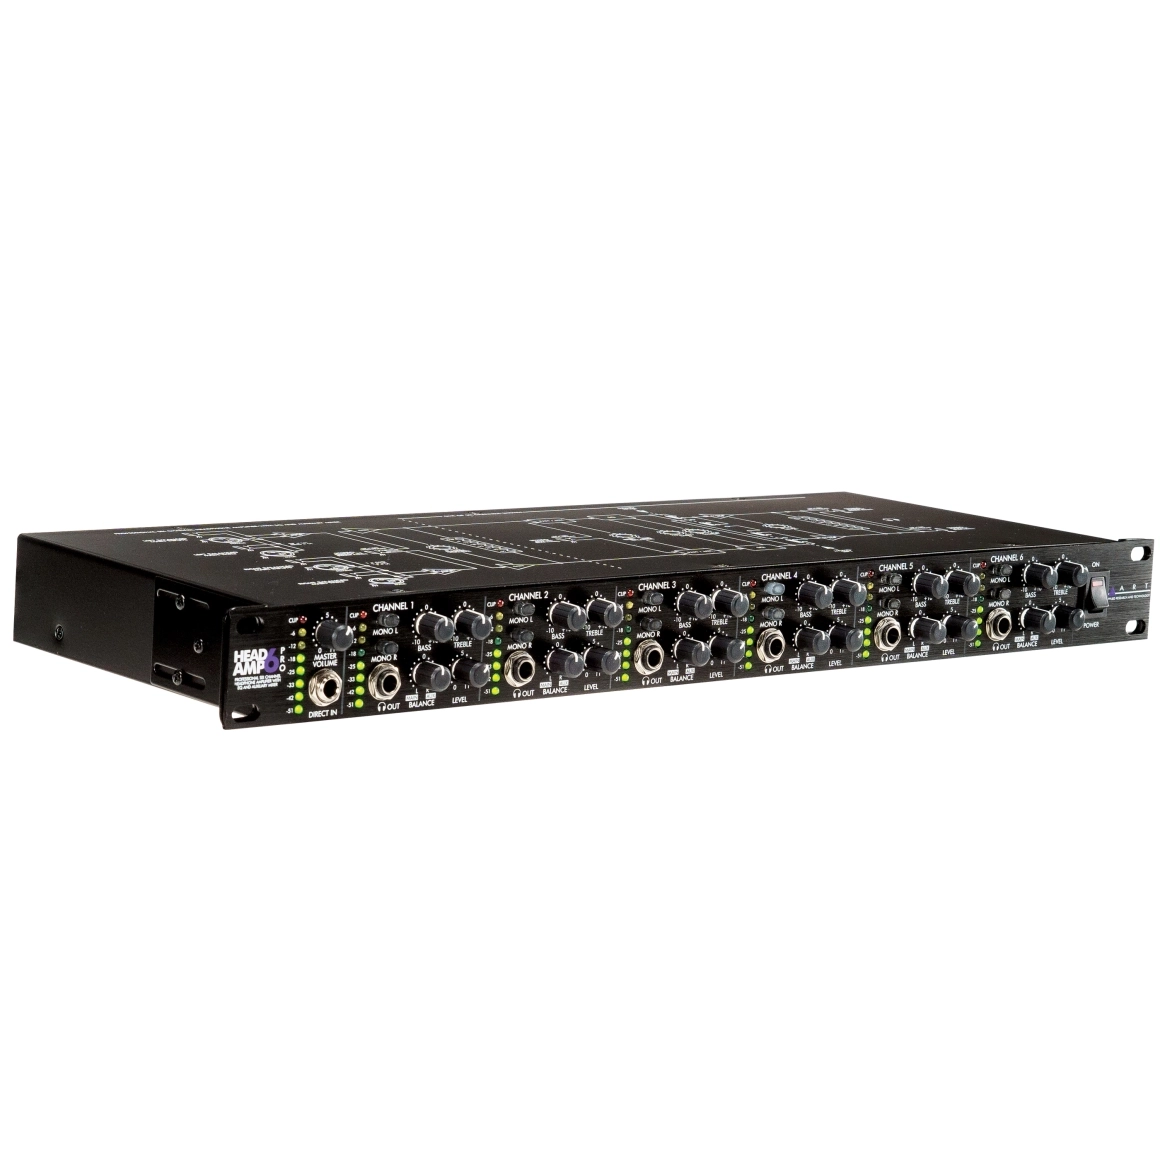
When working with multiple artists, everyone needs to hear themselves clearly.
Most audio interfaces only have one or two headphone outputs, which won’t cut it for group sessions. A headphone amp fixes that by giving you 4-8 extra headphone outs so everyone stays locked in.
For even more control, advanced headphone amps let each musician customize their own mix without messing with the main session—keeping the workflow smooth and distraction-free.
If you’re working with others, this is a must-have for a pro-level studio experience.
Here’s what I recommend:
A great mix should sound good everywhere—not just in your studio.
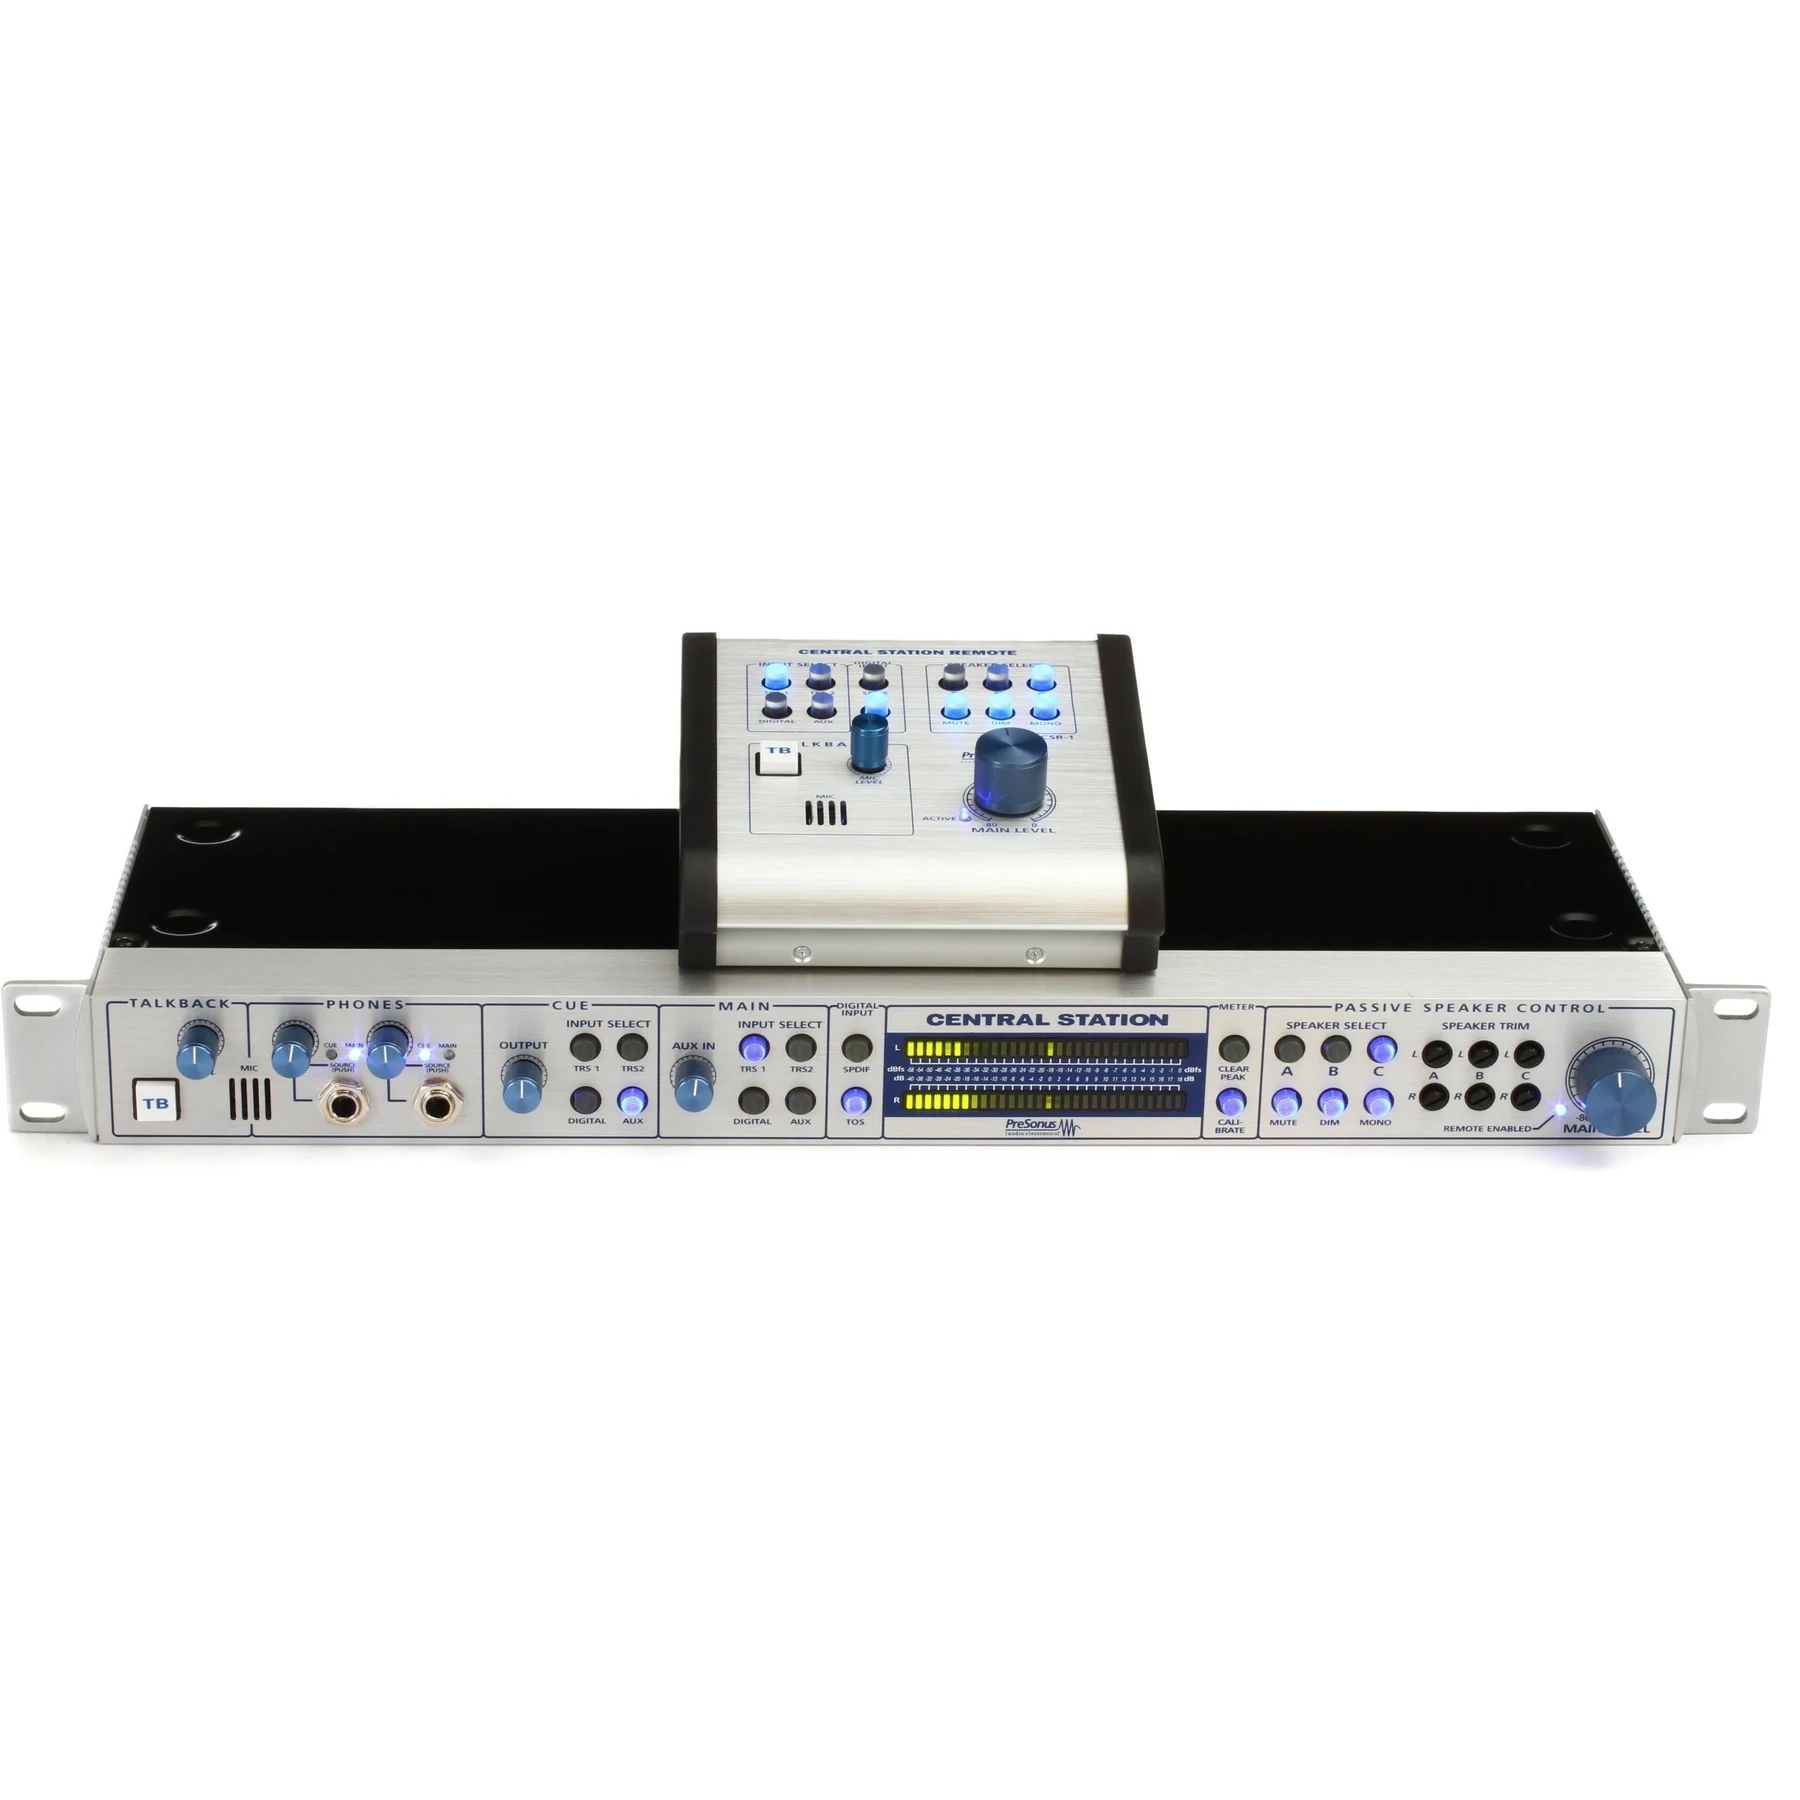
A monitor management system lets you switch between multiple speakers instantly, so you can test your mix across different setups without unplugging cables.
Bonus: It’s also perfect for playing audio from different sources—phones, laptops, or other computers. Great for collaborating with producers or even hosting a listening session.
Here’s what I recommend:
A power outage can wipe out hours of work in an instant…
A UPS acts as a backup battery, giving you a few minutes to save your session and shut down safely.
Bonus: It also protects against power surges that can fry your gear over time.
Put simply, this is cheap insurance for your studio…
Here’s what I recommend:

Clicking in notes with a mouse kills creativity and feel.
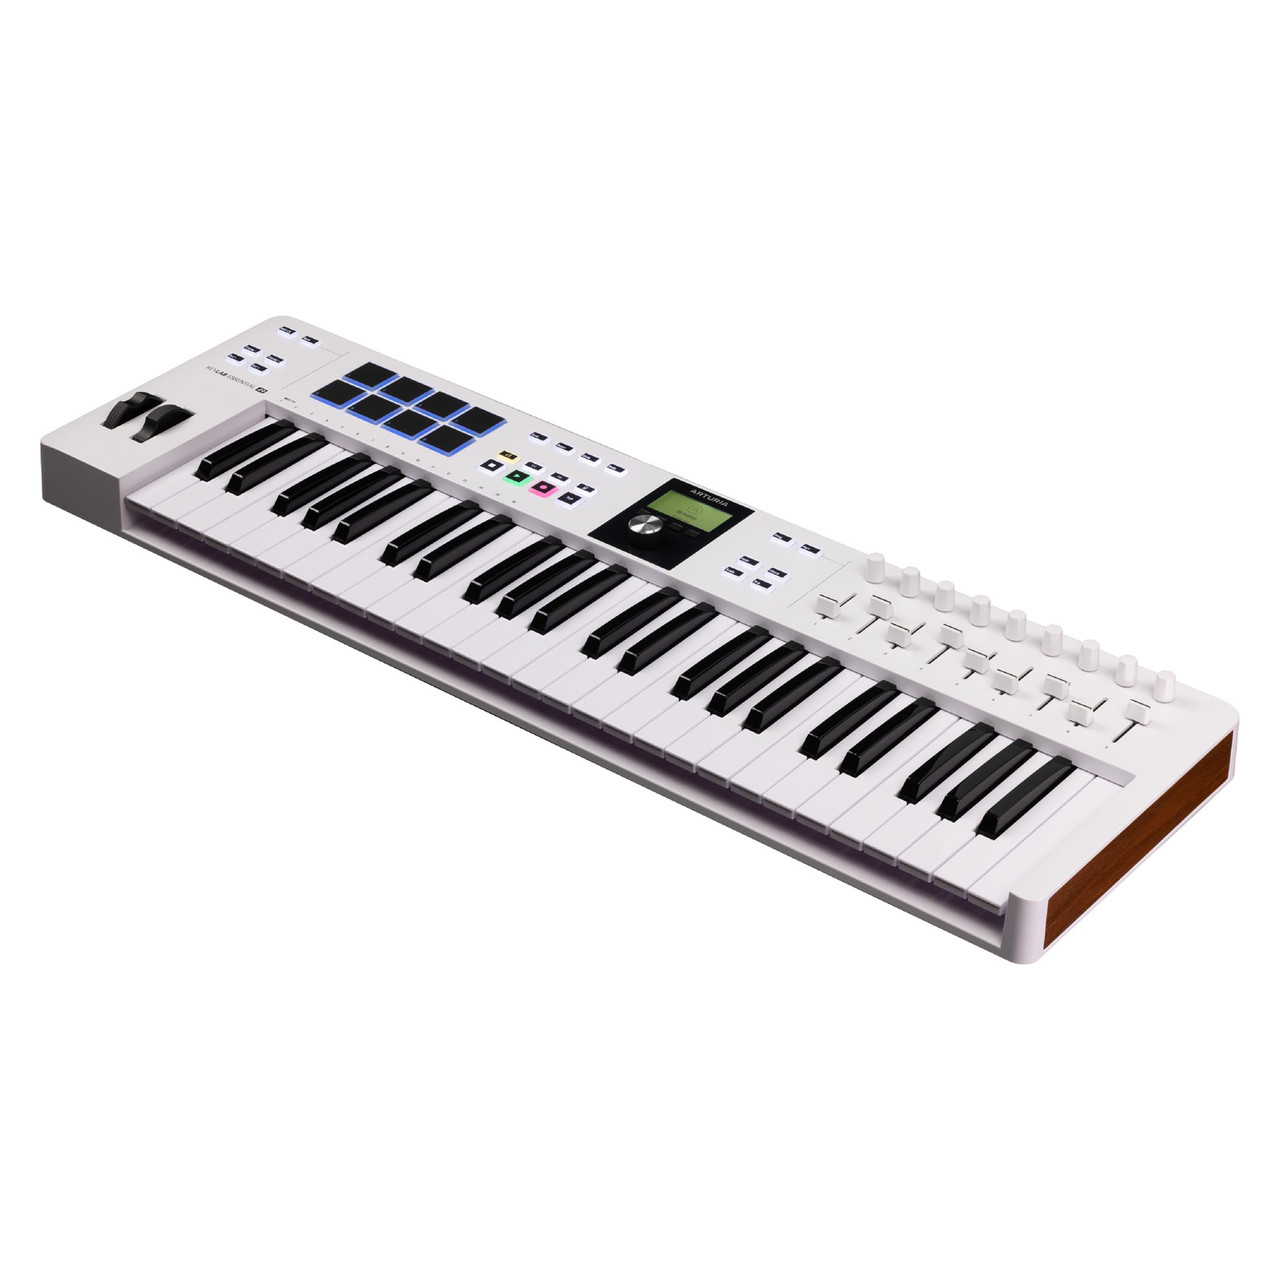
A MIDI controller gives you real, hands-on control over virtual instruments, making performances more natural and expressive.
Bonus: Many controllers come with assignable knobs, faders, and pads, letting you tweak sounds in real time without touching your computer.
Here are two I swear by:
Every DAW includes free plugins, and many do the job well…
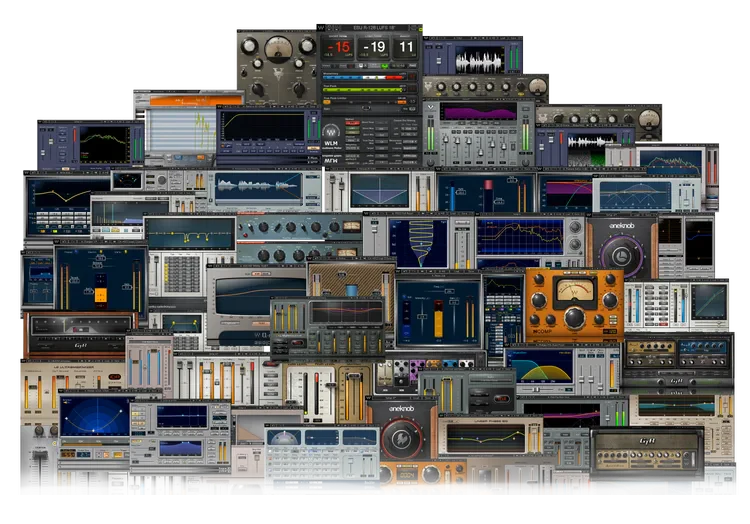
But if you’re aiming for pro-level sound, you’ll eventually need to upgrade.
Plugins won’t magically fix a bad mix—skills come first—but when you’ve put in the work, the right tools make all the difference.
With that, here are some top plugins I recommend:
Every great studio starts somewhere. Whether you’re recording on your phone or running a full production setup, growth happens in phases.
Each step adds more control, quality, and efficiency to your workflow. A mobile setup lets you capture ideas anywhere. A bedroom studio helps you start producing real tracks. A dedicated space improves sound and workflow. And a semi-pro studio gets you big-studio sound without the big-studio budget.
The key is to build smart, not fast. Invest in the right gear at the right time. Upgrade when it makes sense for your workflow, not just for the sake of buying new gear.
No matter what phase you’re in, the goal stays the same—make great music.
If you found this article helpful, please support me with a follow in instagram: